
If you are using Firebase for authentication on your Web applications, you can add embedded comments to it using Hyvor Talk and its Single Sign-on feature.
Hyvor Talk is an embedded commenting platform that allows users to leave comments on websites. By default, users need to have a Hyvor account to comment. However, by setting up Single Sign-on, you can allow users to comment using their account on your Firebase Application.
Setting up Hyvor Talk
First, go to the Hyvor Talk console (it requires you to create a Hyvor account).
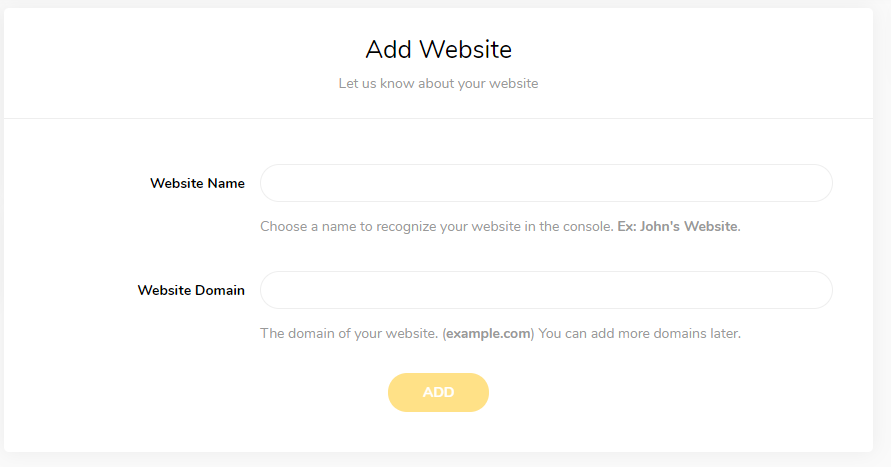
Then, add your website to start the free trial.
Next, you'll see the installation guide. Select Manual Installation.
Then, you'll see our embed code. For this particular use case, we'll only need to copy the <div> part of the code. For our Firebase application, we will asynchronously add the scripts with SSO configuration.
Copy this code.
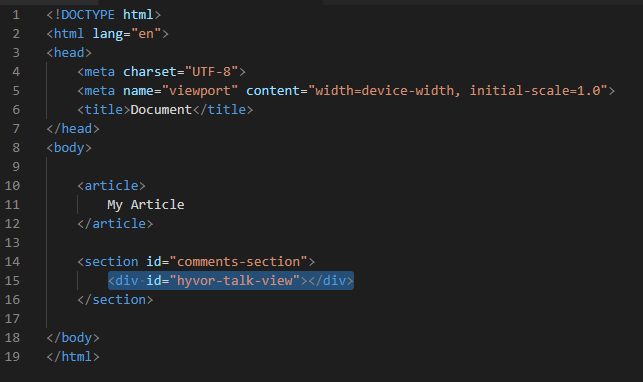
1<div id="hyvor-talk-view"></div>And, paste it into your webpage source code (where you want the comments section to load).
Ex:
Setting up Single Sign-on
The next step is turning on Single Sign-on for your website. Make sure the SSO Type is Stateless, and save changes.
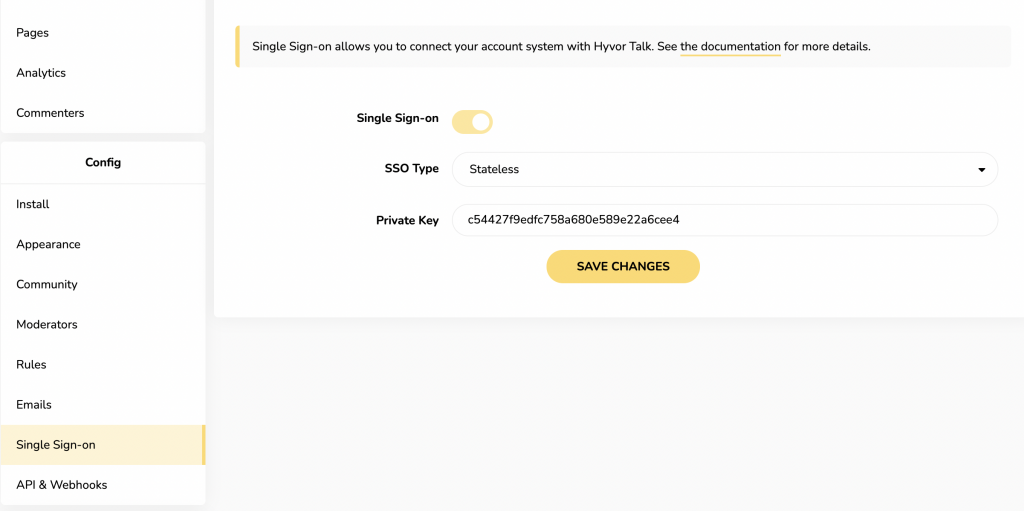
And, copy the Private Key (We'll use that in the next step).
Connecting Firebase Accounts
Here, I assume that you are already handling login and signup on your application using the Firebase Web Authentication. The next step is to add the comments section to your web page with a Single Sign-on configuration.
Here I will provide you the full code, and I'll explain it step by step later. One important thing here is that you have to include Firebase libraries and call firebase.initializeApp(firebaseConfig) before this code.
1<script src="https://cdnjs.cloudflare.com/ajax/libs/crypto-js/4.0.0/crypto-js.min.js"></script> 2<script> 3 var HYVOR_TALK_WEBSITE = YOUR_WEBSITE_ID, 4 HYVOR_TALK_CONFIG = { 5 url: false, 6 id: false 7 }; 8 firebase.auth().onAuthStateChanged(function(user) { 9 var HYVOR_TALK_PRIVATE_KEY = 'YOUR_PRIVATE_KEY';10 // convert firebase user object to hyvor talk-friendly object11 var userData = user ? {12 id: user.uid,13 name: user.displayName || user.email.replace(/@.+/, ''),14 email: user.email,15 picture: user.photoURL16 } : {}17 userData = btoa( JSON.stringify( userData ) )18 var hash = CryptoJS.HmacSHA1(userData, HYVOR_TALK_PRIVATE_KEY).toString();19 HYVOR_TALK_CONFIG.sso = {20 hash: hash,21 userData: userData,22 loginURL: "https://example.com/login",23 signupURL: "https://example.com/signup"24 }25 var script = document.createElement("script");26 script.src = "//talk.hyvor.com/web-api/embed";27 script.async = true;28 document.body.appendChild(script);29 });30</script>Make sure to replace YOUR_WEBSITE_ID with your actual website ID. You can get it from the General section of the console.

If your website ID is 1, change the code like this:
1var HYVOR_TALK_WEBSITE = 1,And, make sure to replace YOUR_PRIVATE_KEY with the SSO Private Key, you copied earlier.
1 var HYVOR_TALK_PRIVATE_KEY = 'YOUR_PRIVATE_KEY';Finally, replace https://example.com/login and https://example.com/signup with your login/signup URLs.
Code Explanation
First, we import the
crypto-jslibrary to use for hashing.HYVOR_TALK_WEBSITEandHYVOR_TALK_CONFIGare global configuration variables that Hyvor Talk uses for all websites (You can see it in our normal installation code)firebase.auth().onAuthStateChangedattaches an observer, which will be called when the authentication status changes. (The callback function will be called after the window loads)Inside the callback function, we check the user's status and add the Hyvor Talk loading script to the page with a Single Sign-on configuration.
That's all you should do to set up Single Sign-on with Hyvor Talk on your Firebase application. Now, you will see the comments section loading inside the <div> the element you added earlier.
Conclusion
Hyvor Talk makes it really easy to add a fully functional commenting system to your Firebase Application with Single Sign-on. There are a lot of customization options provided by Hyvor Talk. You can visit our documentation to learn more about our service and other details. If you have any questions/issues, please feel free to comment below.
Security Note: Our SSO private keys and hashing are designed to be handled on the server-side. However, when you do not have access to a back-end, you will need to handle them in the front-end via Javascript. This way, accounts are secured by user IDs. Therefore, you have to make sure that the user IDs of your users are never shown/shared publicly.


Comments