
Hyvor Talk is a fully-featured commenting platform for websites. This guide explains how to add Hyvor Talk comments to your React applications. You can use the same process if you are using a React-based framework like Gatsby or Next.
First, what is Hyvor Talk and why?
Hyvor Talk is an embeddable, fully-functional commenting platform for any website (not just for React). Among the other similar options available in the market, Hyvor Talk is special due to many reasons.
Privacy-focused - never sell your or your visitors' data and protects end-user privacy
No ads/tracking placed on your site.
It comes with affordable pricing.
When considering a commenting platform for static sites, the most important factor is speed. Hyvor Talk is based on Web Components, and it is fast and lightweight.
Fully customizable. You can also use custom CSS.
Adding Comments to Your React Blog
Step 1: Register Your Website in Hyvor Talk Console
First, navigate to Hyvor Talk console. This requires a HYVOR Account, which you can create in a few minutes. After signing up, you'll be navigated to the console. Then, fill in two fields and add your website.
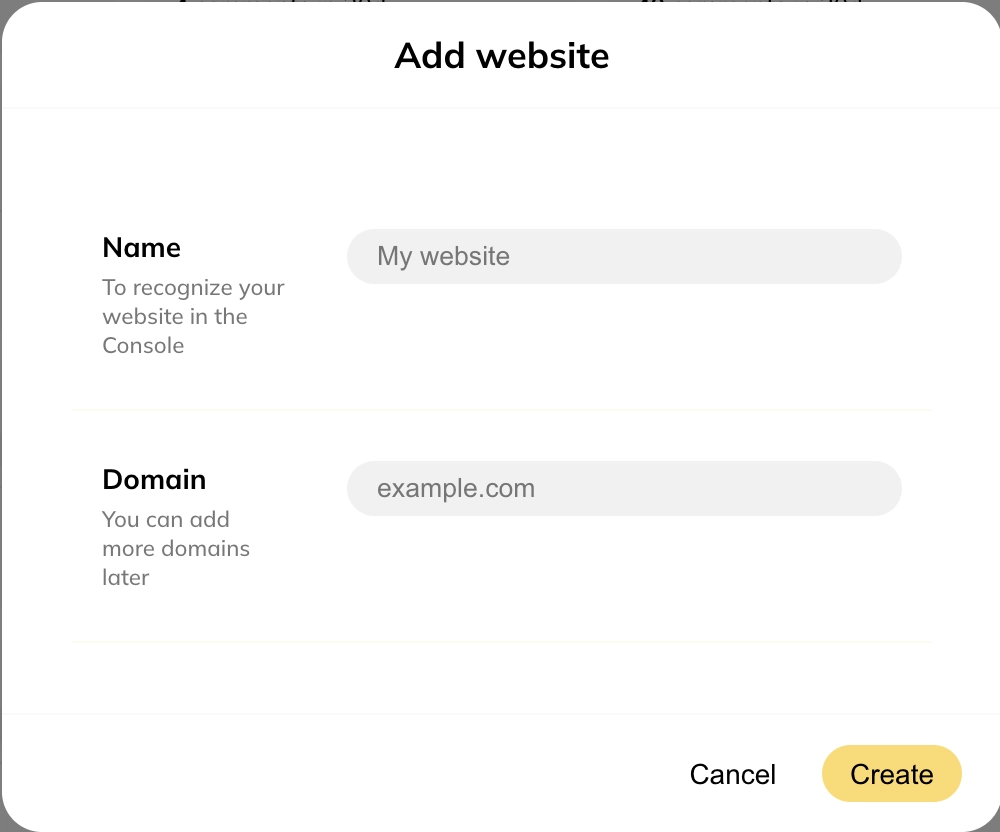
Name - Just a simple name to recognize your site in the Console
Website Domain - Primary domain of your site. You can add more domains and subdomains later.
After you create your website, you will get a website ID, which we will need in the next steps.
Step 2: The "React" Part
You can use the @hyvor/hyvor-talk-react package to install Hyvor Talk on your React blog or application. Use the install command depending on your package manager:
1npm install @hyvor/hyvor-talk-reactor
1yarn add @hyvor/hyvor-talk-reactNext, we can add comments to the template files we need. In Gatsby, comments are usually added to src/templates/post.js.
Import the <Comments> component:
1import React from 'react'2import { Comments } from '@hyvor/hyvor-talk-react'3...Now, add the component to the place where you need comments to load.
1return ( 2 <Global> 3 ... 4 <PageBody> 5 ... 6 <Comments 7 website-id={YOUR_WEBSITE_ID} 8 page-id={UNIQUE_PAGE_ID} 9 />10 </PageBody>11 </Global>12)website-idcan be taken from Console → Settings → Websitepage-idshould be unique per page/post. Eachpage-idcreates a new comments thread. You can set it to slug or a unique ID. You can also omit that. In that case, Hyvor Talk will use the canonical URL of the page to identify it.
Tip: If you like to lazy load comments (load when scrolled to the comments section), add loading="lazy". Then, comments will only be loaded when the user scrolls down.
1<Comments2 website-id={YOUR_WEBSITE_ID}3 page-id={UNIQUE_PAGE_ID}4 loading="lazy"5/>The
@hyvor/hyvor-talk-reactlibrary wraps the Hyvor Talk’s<hyvor-talk-comments>Web Component. See our installation & configuration guide for all the supported props.
Listening to Events
The base <hyvor-talk-comments> Web Component emits some events, such as loaded, comment:published, etc. A full list is available in the Events documentation. In the React component, you can use the on prop to listen to those events. Here’s an example:
1<Comments2 website-id={YOUR_WEBSITE_ID}3 page-id={UNIQUE_PAGE_ID}4 on={{5 'loaded': () => console.log('Comments loaded'),6 'comment:published': () => console.log('Comment published'),7 }}8/>Comment Counts
The @hyvor/hyvor-talk-react library also provides a <CommentCount> element, which is a wrapper around the base <hyvor-talk-comment-count> element. Learn more about comment counts.
In most cases, it is common to show comment counts on index pages Here’s how to use comment counts in your React application:
1import { CommentCount, loadCommentCounts } from '@hyvor/hyvor-talk-react'; 2In this code,
We add multiple
<CommentCount>elementsOnce all of them are mounted, we call the
loadCommentCountswith the website to load all comment counts
Resources


Comments