
Webflow is a great platform to start a blog, however, if you are looking for a more blogging-focused platform, try Hyvor Blogs.
When it comes to creating a blog, teams often use a few different tools: one tool for graphics and visual design, another for prototyping, and another for coding. Webflow attempts to simplify the process of web design by enabling you to design and develop at the same time. In this article, you will learn everything about how to create a blog on Webflow easily.
To blog quickly and effectively, you really need a CMS (aka, the content management system), Webflow stands apart for two reasons:
On-page editing. There’s nothing more intuitive than double-clicking some text, and editing it. Right there on the page. It’s like writing and editing on Medium, but you’re actually updating your website. Awesome.
Easily customizable content types. We call our content types “Collections,” and it’s really easy to tweak existing Collections, or make your own from scratch, especially as you get better with the Designer.
Let's get started.
1. Setting Up your Blog
There are a few steps that must be completed before you start creating your desired blog. This article - How to Create a Blog on Webflow- teaches you A-Z on creating a blog on Webflow.
1. Create an Account on Webflow
Firstly, you need to create an account on Webflow. For that purpose, visit here.
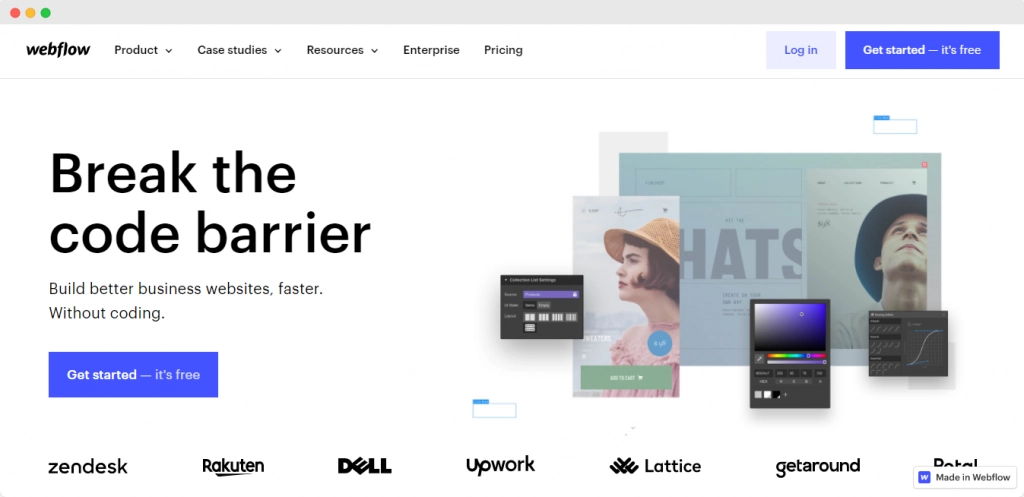
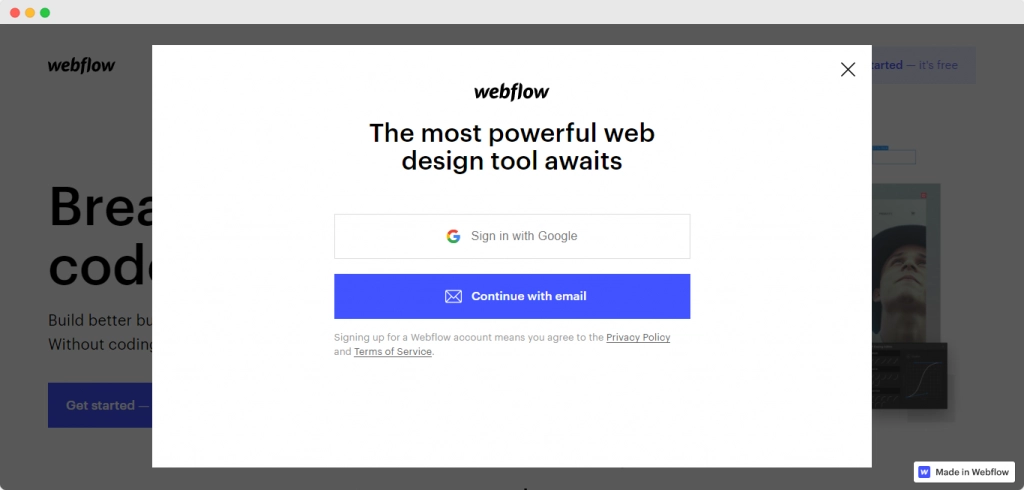
After that, click Get Started-it's free as shown above. If you have already created an account in Webflow, you can skip to the next step. Next, create your account using either your email or sign up with Google.
2. Choose a CMS Blog Template
After creating an account, you need to choose a CMS blog template. As soon as you sign up/log in, you will see your screen as follows.
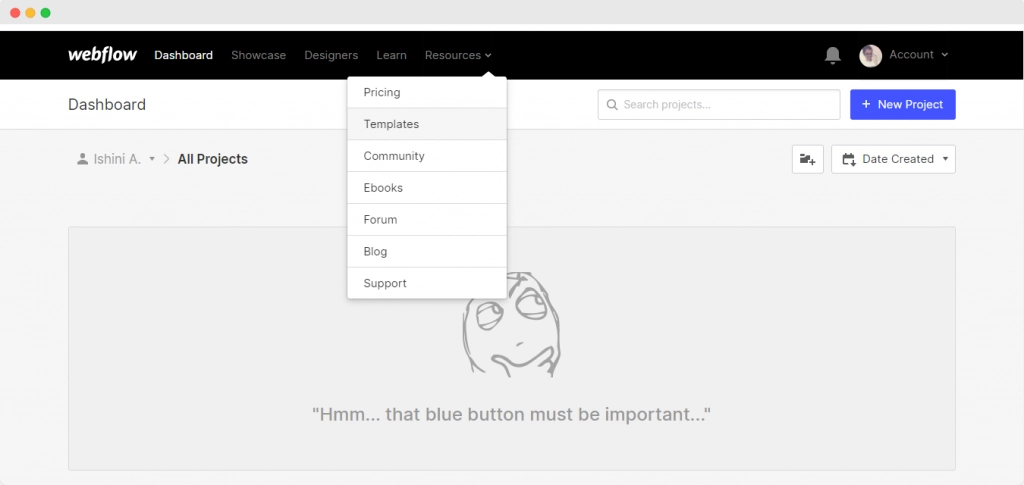
Choosing an appropriate CMS template is very important as this creates a great impact visually on your blog. The CMS-powered templates give you access to on-page editing and the CMS panel, so you won’t have to dive into the more complex Designer until you’re ready.
This is what you need to do: first, click Resources on the top black bar of the screen. It will display a drop-down menu: from that click Templates (see the image above). After that, it will bring you to the templates section. Next, on the search bar of the templates section, type Blogs, and hit the Search button.
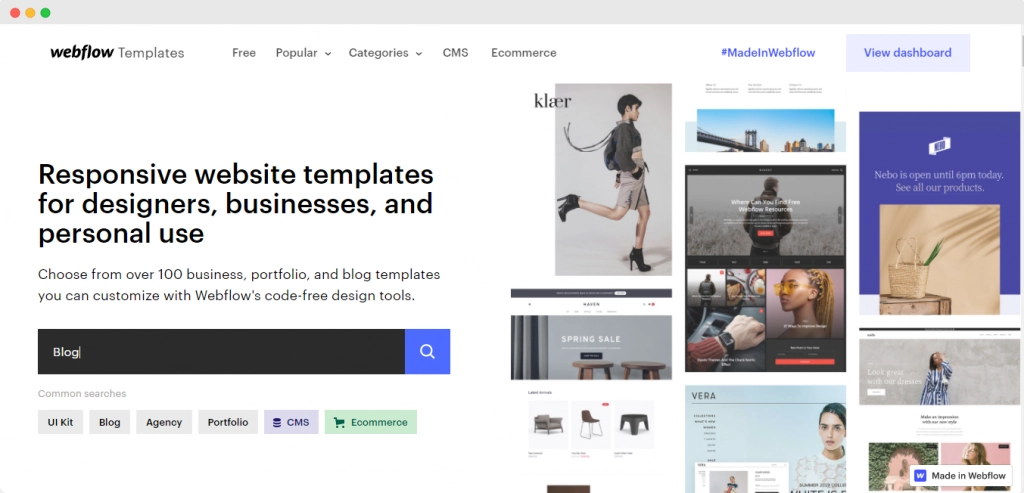
It will show you a list of CMS templates that you can use for the blog that you are going to create. There are free and paid CMS blog templates that you can use. Click any of the templates you like.
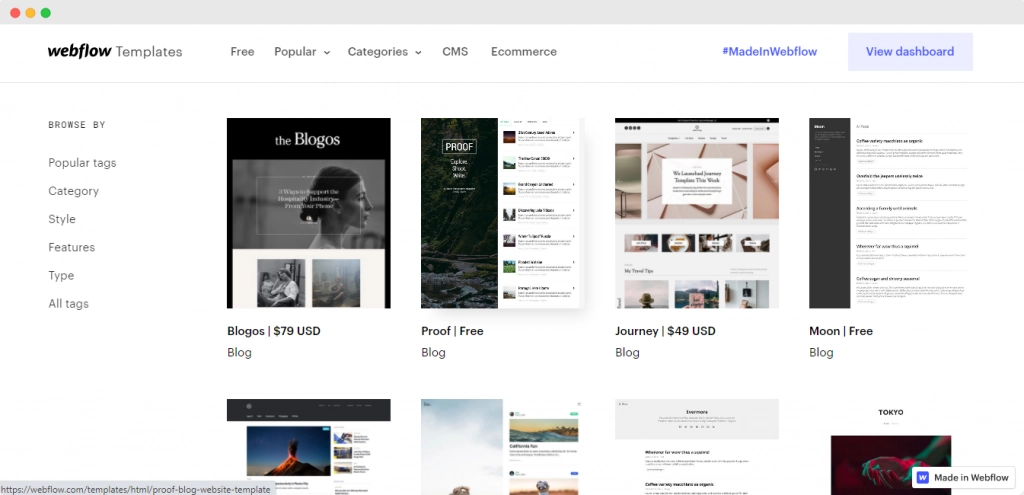
For this guide, I choose a free template called Notable so that everyone can easily have it. However, if you want to use a paid one, the tips are given right after the next.
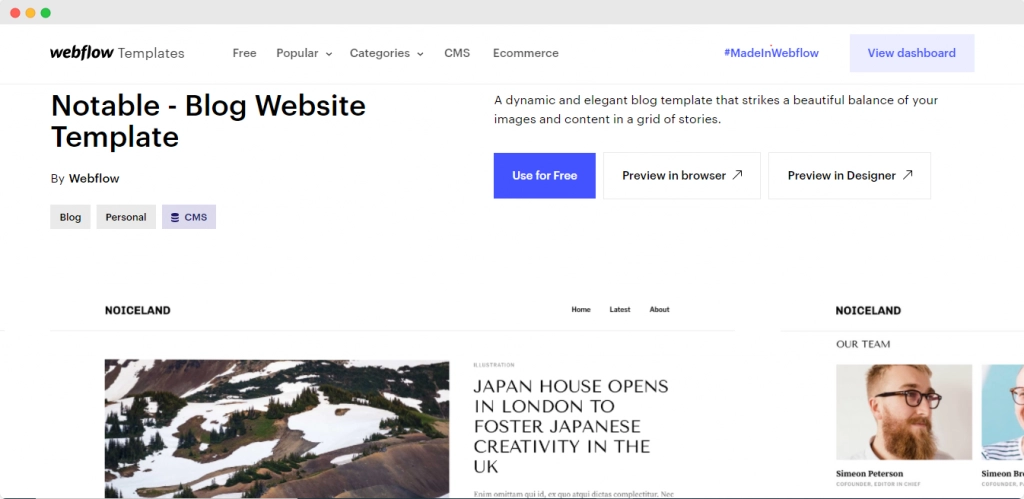
After that, it will show the details of your chosen template as above. From there, you can see a preview of the template in the browser as well as in the Designer. Click Use for free. If you need to buy a paid template, just click on the paid template that you like. After that click Buy for x USD. That's it.
2. Create a New Project
You will be automatically redirected to the Webflow Dashboard of your account. On the dashboard, you can see the blog template that you chose a few seconds ago.

Just click Create Project in the top right corner. It will display a pop-up window as shown below.
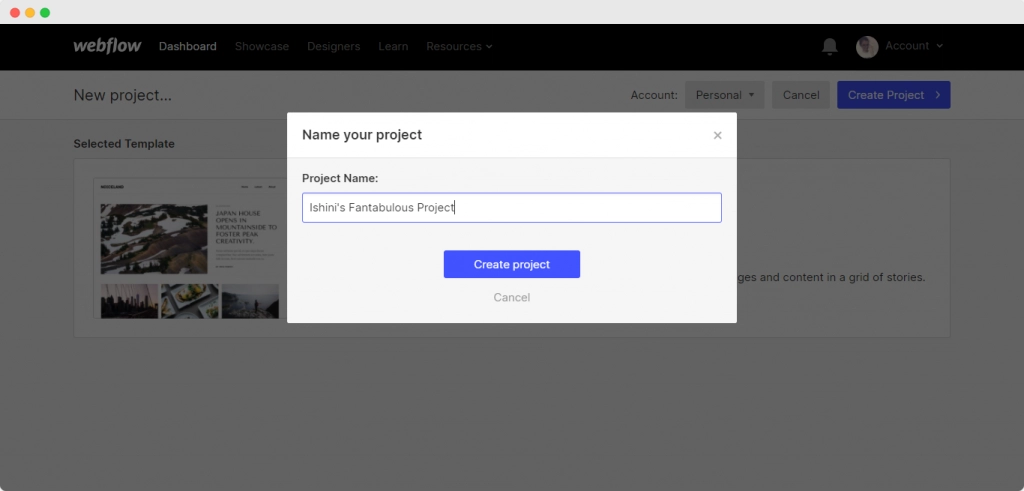
Type a name for your project as you like in the space given on the pop-up window. Then, click Create Project. Yayyyy! You created your blog on Webflow. As soon as you click Create Project, you will see the homepage of your blog in the Webflow editor. (See the image below)

The basic steps of creating a blog on Webflow are just finished. The first step of "how to create a blog on Webflow" is pretty simple, isn't it?
2. Customizing Your Blog
When talking about how to create a blog on Webflow, customizing the blog is necessary. In a blog, we usually include articles, posts, photos, headings, etc. However, your desire is to attract more users to your blog. For that purpose, you need to make your blog more attractive and interesting to the users. In order to do that, you need to customize your blog as follows.
1. Typography
Typography has a huge effect on how people perceive, and feel about your blog. As we all know what people think and feel is everything. By default, Webflow has given its users different typography elements with the corresponding templates. As I chose the Notable template for this tutorial, here you can see that I have got Arial, Tenor Sans, Libre Franklin, Source Serif Pro, etc. Now, we are going to update the typography of the created blog. Firstly, let's take the heading. Click on the heading -whatever the text you want to edit- and you will see a set of menus on the right of the screen. (see the image below)
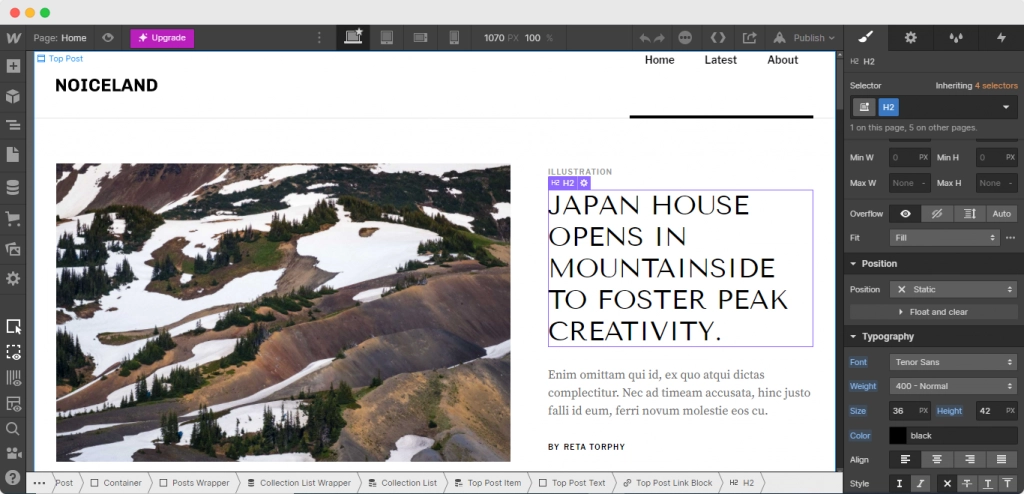
Among those menus, choose the menu called Typography. On that, you can see many options that you can customize: Font, Weight, Font Size, Color, Font Height, Align, and Styles such as Italics. Click More type options to see more options in the typography menu. You can change the Letter Spacing-space between letters, Text Indent, Column, Direction-direction of the text, and Capitalizing on there. The below video clip shows you how you can make changes to the typography easily.
The above method is applied when updating the typography of each and every text of your blog.
Important
When applying a style or when updating a whole sector, it is quite tricky to do it sector by sector. Imagine this scenario: To keep changes efficient, you want to make the font a different font for the whole site. To do that, you need to make it the font for the site’s Body.
In Webflow (and web design generally), the Body is the fundamental entity of your blog, so if you want a style choice to affect everything on the site, start there. To select the Body and style it, just click on "Body" in the Navigator on the left of the Designer/Editor. The shortcut key for the Navigator is "Z".

After that, on the style panel -on the right of the Designer, click into the Selector field, and select Body (All Pages). Next, click that tag. Then it’s back to the Typography panel to pick the new font.
Switching the Body tag to Monserrat changed a lot of the text on the site, but not everything. That’s because one of the essential laws of CSS is specificity: more specific classes override less specific ones. That’s why elements like the headings are still in the default: the heading tag is more specific than the body tag. However, if you want to change headings that remained unchanged, you can apply the changes to them separately.
In addition, the Webflow blog says,
In general, it’s best to style tags rather than create unique selectors for everything on your site. This ensures that your changes have the broadest effects, and helps keep your code clean.
The Webflow blog
Identifying the Tools of a Designer
Apart from the Typography, to go further -learning how to create a blog on Webflow, let me tell you about the tools of the Designer which you will need ahead. Pretty sure that you'll thank me later.
Firstly, let's take a look at the left-side toolbar. As you can see there are several unique icons for your ease of identification. Let's identify them one by one.
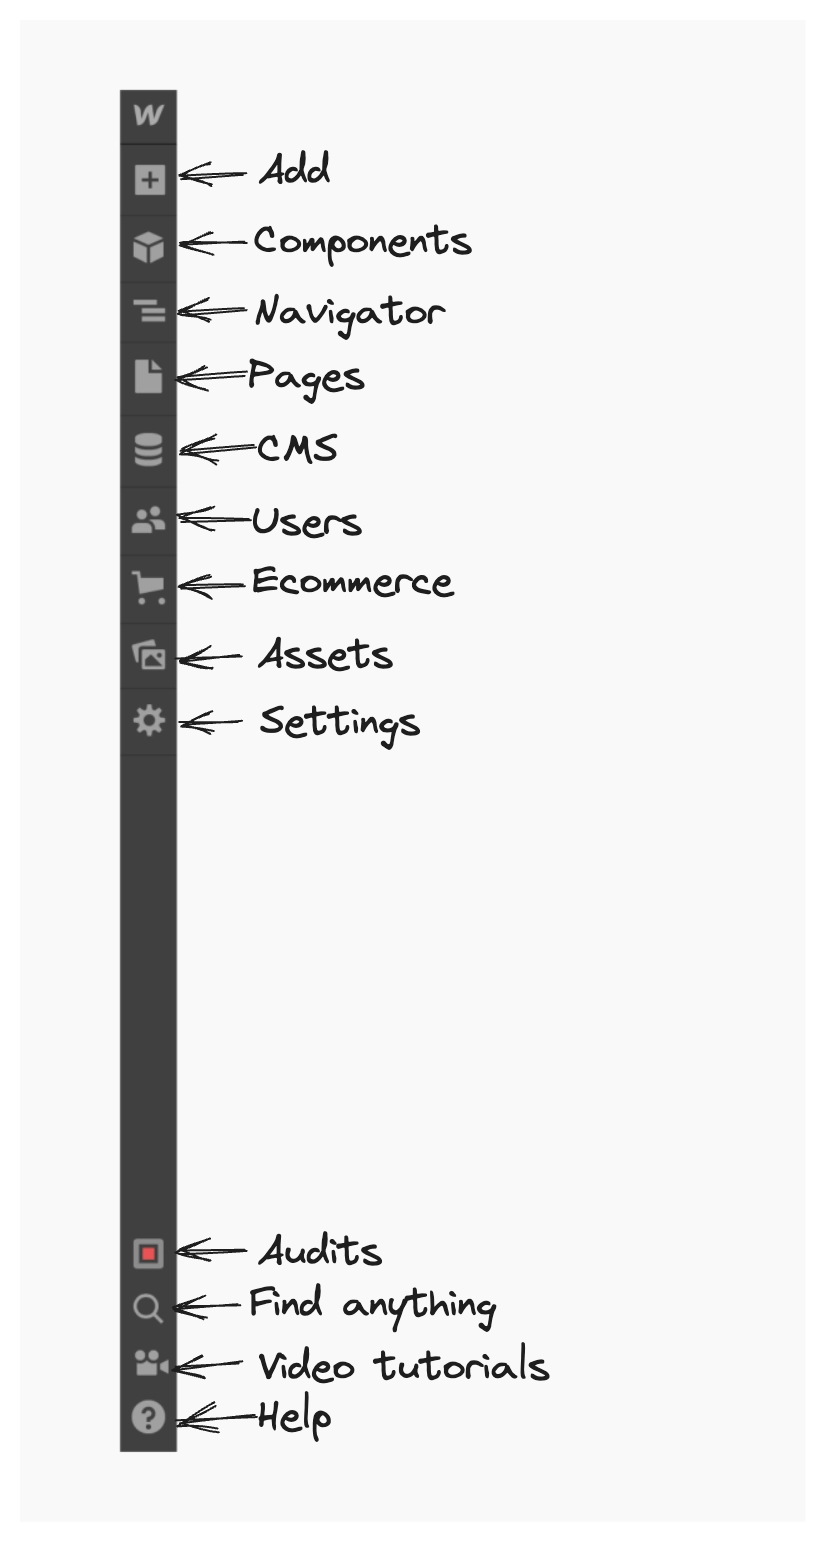
1. Add
This allows you to add elements to your blog. When you click the plus icon of the tools bar you will see a pop-up menu like this.
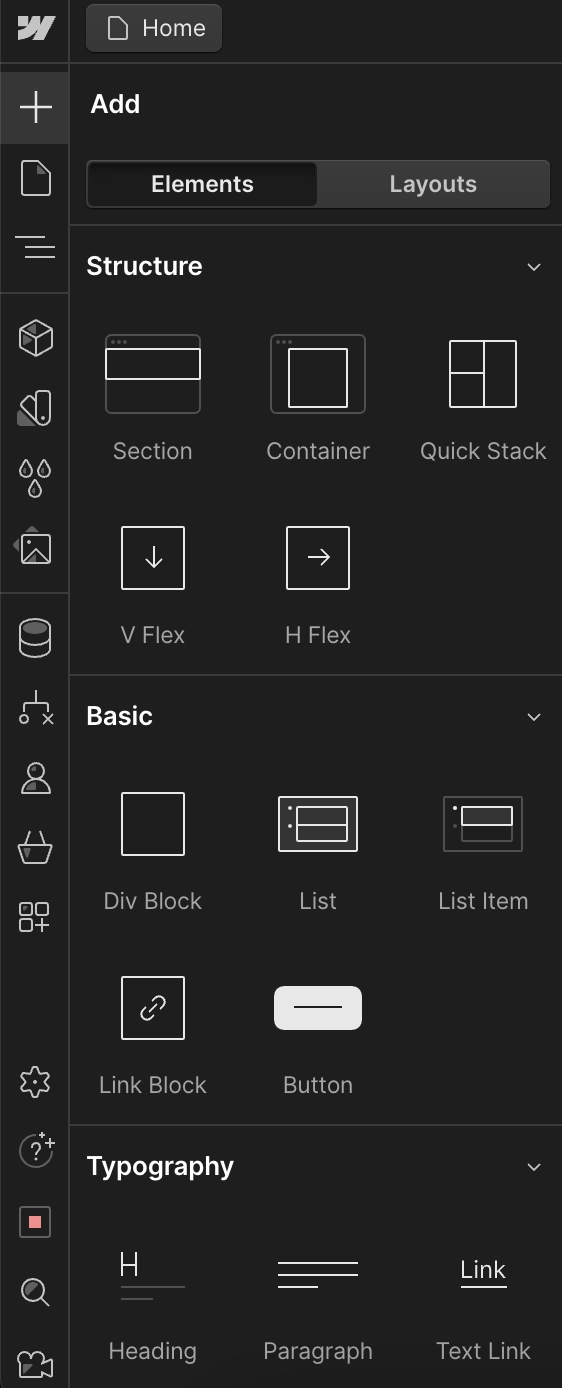
With the help of this pop-up menu named "Layout" under the elements sector, you can change the layout manner in which the elements are being kept on the blog. And, with the "Basic" sector you can create buttons, lists, link blocks, etc. If you click on "Layouts", you will see a pop-up menu as shown below.
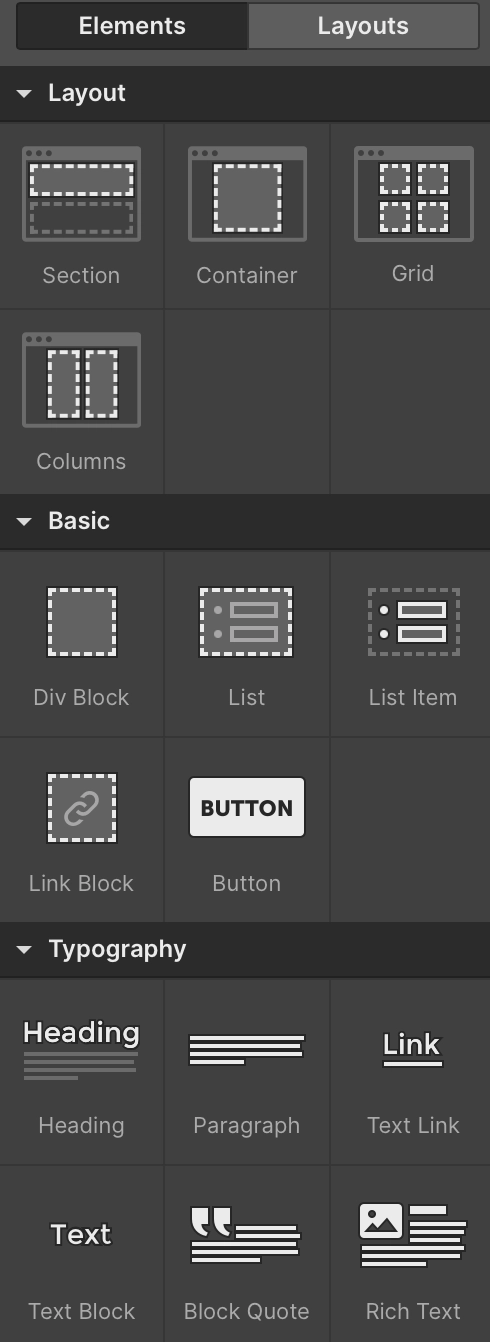
With the help of the above menu, you can change the layout of content, gallery, footer, contact forms, subscribe forms, etc. (On your blog) The shortcut key for "Add" is A
2. Components
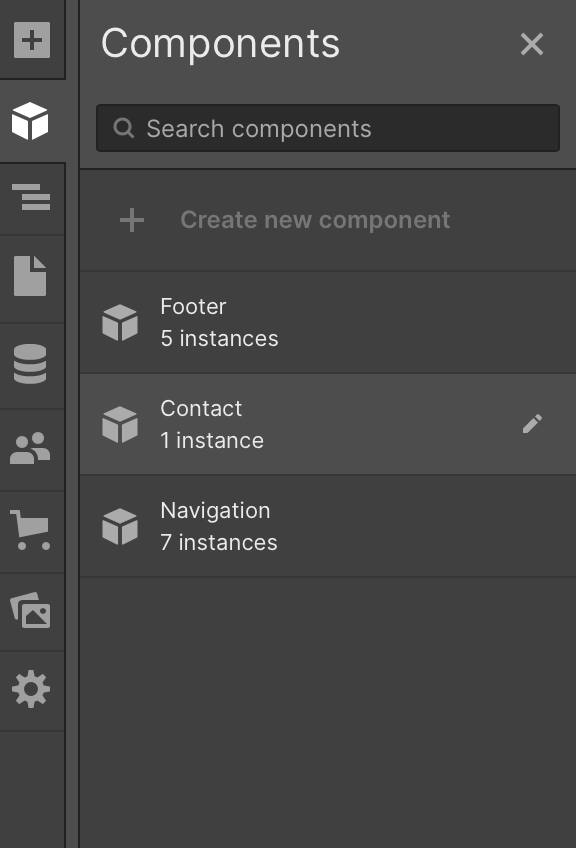
The Components tool lets you create segments in each sector. You can either edit the default names of the created sectors. The shortcut key for Symbol is "Shift+A".
3. Navigator
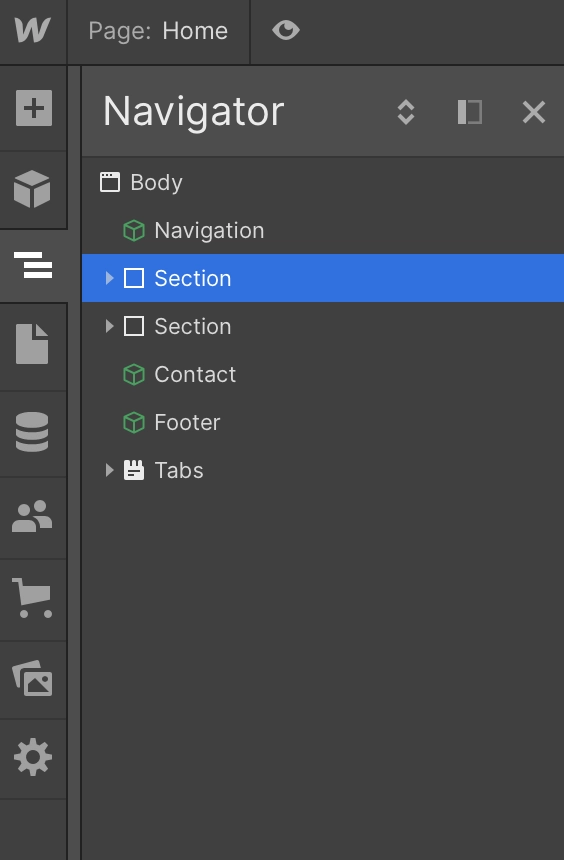
This guides you to navigate to any sector of your blog in the Designer. The shortcut key for this is "Z"
4. Pages
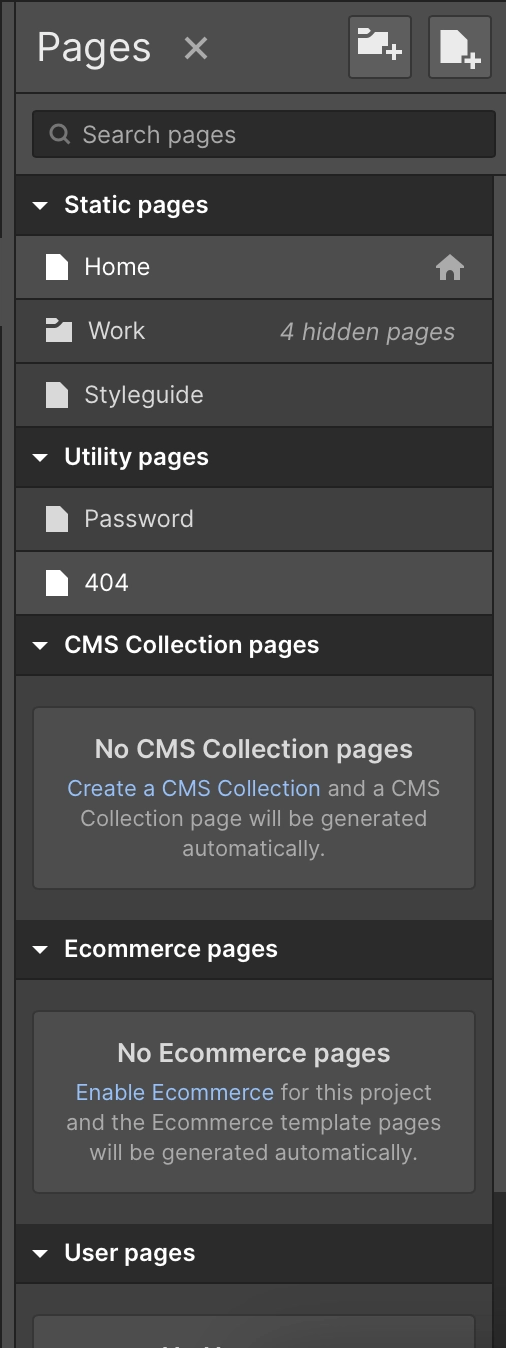
This tool helps you to go to the pages within a snap and manage/edit them as you like. In the above image, you can see the pages that I have on the blog I am creating. The shortcut key is P.
5. The CMS Section
The CMS lets you manage all the content of your blog. You can edit your blog post such as changing their titles, slugs, cover images, content, etc. Moreover, you can also manage your blog team members' details as you need. Not only that but also you can manage tags and categories of your blog through this. The above video clip will show you what you can do with CMS. Watch more tutorials on CMS by visiting Webflow University.
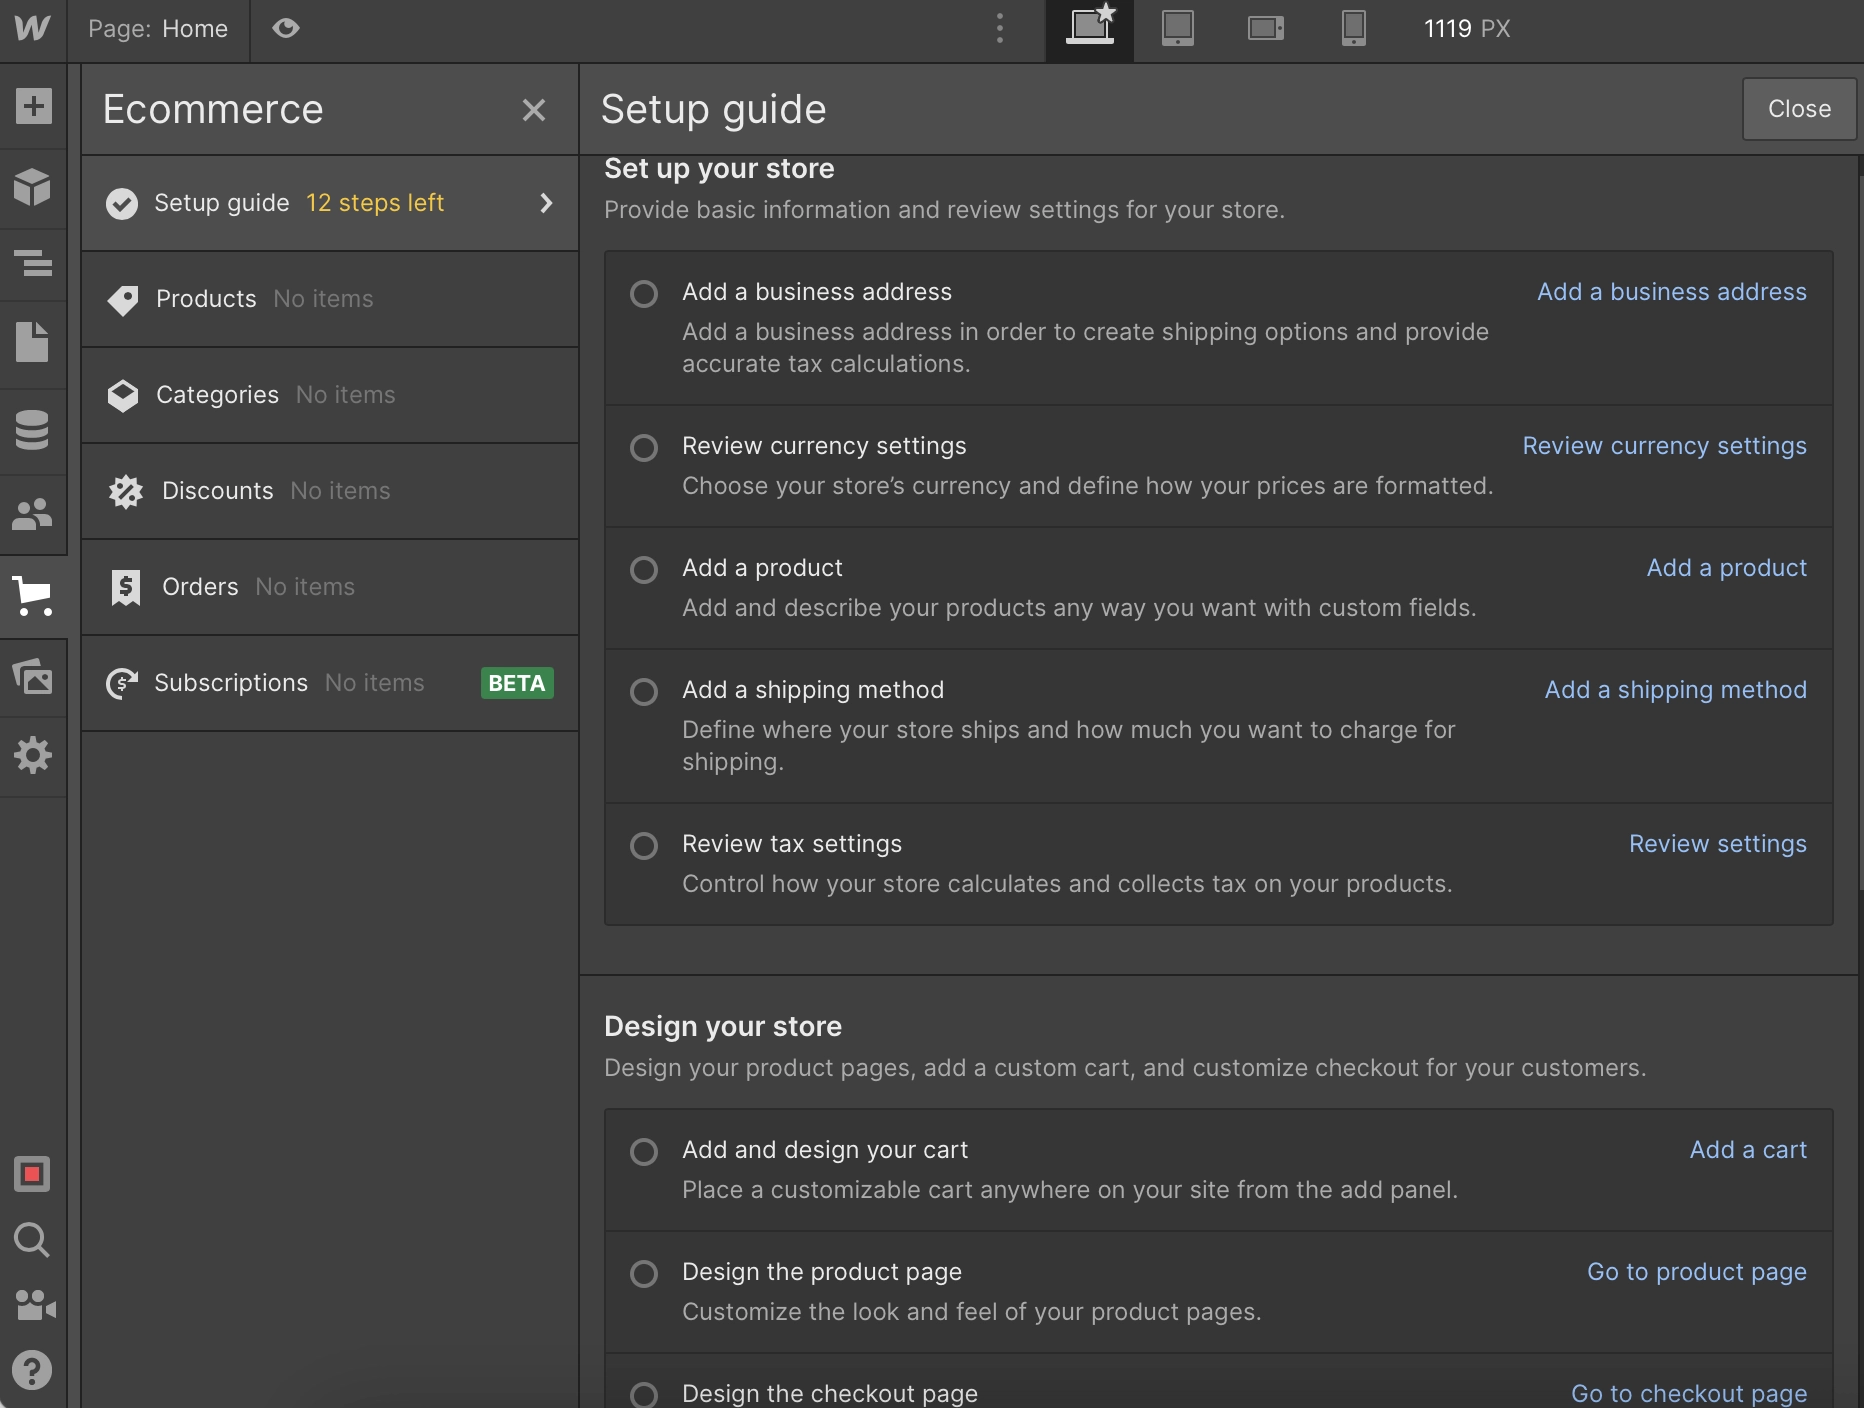
6. E-commerce
This gives you messages to make certain changes to make your site suitable for E-commerce.
7. Assets
In assets, you can easily manage images, logos, icons, and, documents of your whole blog. You can also upload any kind of asset there or create new folders of assets. The above video clip will give you a clear idea about assets. The shortcut key for assets is J.
8. Settings
You can identify this tool by the universal settings icon. Through this, you can manage backups such as creating a new backup, renaming a backup, restoring a backup, or previewing in tabs. Moreover, you can do changes and required actions for indexing and searching such as adding a hosting.
The tools numbered 9-15 are described as follows.
Show/Hide Elements Edges is the tool 9th tool on the list that hides or shows the edges of a selected element when you need it. The 10th tool on the list is Show/Hide Empty Elements which hides or shows the empty elements of the blog when you enable it. Show light/filled guide overlay is the 11th one on the list that shows the light or filled guide of the blog when you enable it. You can see the guide with lines and stripes from the designer's view. The next tool which is the 12th one is Enable/Disable X-ray mode that shows or hides each element of the blog in blocks.
The 13th one is called Search Anything which allows you to search any element, symbol, page, or, collection. The shortcut key for Search is Ctrl+C. The next one which is numbered as the 14th is Video Tutorials which brings you to the video tutorials given by Webflow under different sectors such as web structure, elements basics, components, styling basics, layouts, CMS & dynamic content, etc. Lastly, you can identify the (15th one) Help tool by the universal help icon. It gives you the help that you need with finding keyboard shortcuts, asking for help, etc.
Now let's take a look at the upper toolbar.

From this toolbar, you can navigate among pages of your blog in the designer view easily. With the use of the eye icon, you can see a preview of your blog.
Moreover, you can check how users see your blog on different devices such as tablets, PCs, and phones. Not only that, you can check the same view in the Designer too. On the other hand, you can change the size of the canvas that you are currently working on.
There are Undo and Redo buttons on the right side of the canvas size sector of the toolbar.
The changes that you are making are automatically saved. You can see a tick icon with a green background when your changes are saved. If not, you will see a set of three dots in the same location indicating that there are unsaved changes.
The tool next to the Save is Export Code. You can export CSS, HTML, JS, and Assets. You can share your project among people with the use of the tool next to the Export Code. It's pretty easy to identify with the universal share icon, isn't it?
Moreover, you can make the sharing link Read-Only. You can also invite content collaborators to your blog with the help of the Share tool. (More details about inviting collaborators are mentioned below). Lastly, there is the Publish button that you will need to publish your blog.
The Webflow icon on the left upper corner lets you go to the dashboard, site settings, and, editor.
Customizing an Element
When learning how to create a blog on Webflow, it is kind of necessary to be perfect at editing elements according to your needs. Let's select a heading on the blog home page. As soon as you select it, the Webflow will display several pop-up menus that are necessary for the editing of a certain element. These pop-up menus are the same for any element that you choose. So, getting used to them is not that a big deal.
With the help of that styling/editing pop-menus, you can change the size, padding, position, typography, colors, borders, shadows, etc. (of a certain element)
The video clip below will take you on a tour of the Style sector where you can see the pop-up menus mentioned above. The shortcut key for Style is "S".
However, you might wonder about the other three sectors next to the Style sector. Let's take a look at them.
Moreover, the shortcut key for Elements Settings, Style Manager, and Interactions are "D", "G", and "H" respectively.
Adding Comments to the Blog
Allowing your users to share their opinions on your blog posts is crucial for engagement. To do that you can add a commenting system to your blog. Hyvor Talk is a Webflow-approved commenting platform that is built for this. It's easy to install on your website. To add comments, you can use Hyvor Talk. The steps are pretty simple, let's get started.
Firstly, click over to Hyvor Talk and sign up.
Everything is controlled in the Hyvor Talk console. Secondly, click the link and create an account. After confirming the email, you’ll be redirected to the console.
After that, add a name and your website domain, and click “ADD”.
In the install section, you will see the installation guides for multiple platforms. Then, click Manual Installation.
Next, copy it by clicking the copy button. Now, we have to paste the code into the place we need comments to load.
Then, add an embed component to the place you need comments to load (Usually after blog post contents). If you are not much familiar with adding embeds take our tutorial on How to add comments to Webflow. Note that a paid plan on Webflow is necessary to add embeds to the blog.
Finally, place the copied Hyvor Talk installation code in the code field of the embed. That’s all!
You’ll now see the comments section with reactions.
Writing Articles
A guide that is written on "How to create a blog on Webflow" without explaining how to write articles for it will be quite incomplete as the blog articles are the heart of a blog. The article writing process is pretty simple. Let's get started.
Firstly, go to the left side toolbar and click CMS.
Secondly, click Posts from the popped-up window of CMS.
Thirdly, click New Post on the Posts pop-up window.
After that, you will see another pop-up window named New Post
Then, fill in the necessary details in the spaces given. There are fields called Name, Slug, Article Thumbnail-Upload an image for the thumbnail of the article, Article Header Image- Upload an image for the header of the article, Title-Title of the article, Intro Text-Introduction, Post Content-This is where you type all of the content of your article, Author-Name of the author/writer, Category-Choose the relevant category of the article, Tags-Place where you set tags.
After that, click Create and then, Publish.
Watch the video below to see how to write an article if you are not comfortable with the above steps.
Publishing The Blog
Here comes the publishing time! You can either publish it directly to the given domain by Webflow or add a custom domain. Here is how you can do it.
Buying Custom Domains
There are lots of websites to buy domains for your own. All you have to do is visit a website that sells domains and type your preferred domain name. You will a list of available domains to buy. Compare the prices of each domain. Try to choose professional and suitable domains and make a decision about which to buy. That's it. But remember, to add a custom domain you will need to upgrade your Webflow account to a paid plan.
Collaborations
You cannot write blog posts on your blog for so long. So, you will need writers/authors for your blog to write articles/ posts. For that purpose, you need to invite them to come and give their co-operation with writing. You can invite writers with just a few steps at the Designer.
Go to the upper toolbar and then, click the Share button.
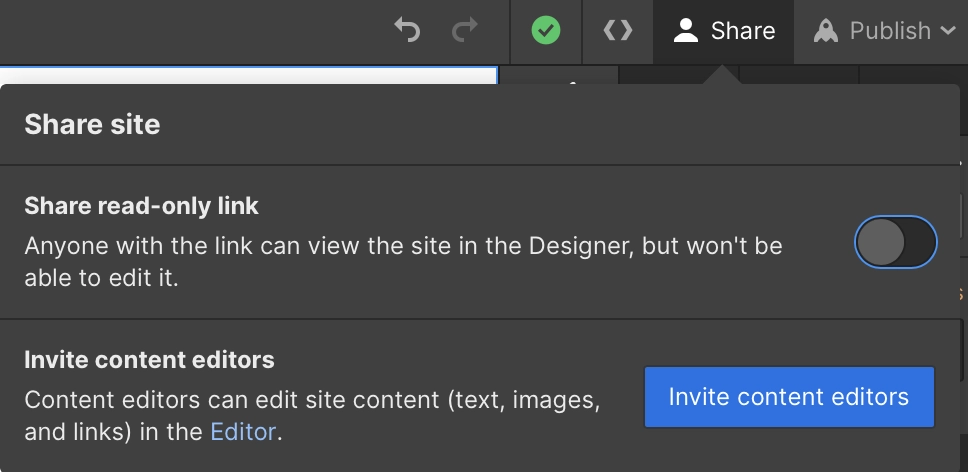
You will see a drop-down menu as above. Then, click Invite Collaborators. You will be redirected to the Editor-collaborators section. From there, you can invite collaborators.
Promote Your Blog
After creating your blog, it needs to promote your blog so that everyone can get to know you. For instance, you can simply share your blog anywhere you like using the link. However, sharing on the internet will not work unless you pay attention to SEO. Use a promising SEO tool for optimizing and use a promising analytical tool. Those tools will help you monitor the behavior of the users of your blog. Moreover, you will be able to observe where the traffic comes from.
If you feel that Webflow is not the choice for you, just search for Webflow alternatives and try them.
Conclusion
Yay! You successfully completed all the steps of creating a blog on Webflow. I hope that you have a broad idea of how to create a blog on Webflow. If not, you can put a comment down below so I can help you. Let me know your ideas, and suggestions too. Happy Blogging✌


Comments