Moderation
Moderation (Comments/Users)
Hyvor Talk offers a plenty of features to make moderation easy. This page explains how to moderate comments, users, IPs, and pages.
Here are the other moderation related pages:
- Rules - Create automatic rules to moderate comments
- Spam Detection - Detect spam comments automatically
Comment Statuses
A comment can have one of the following 4 statuses:
Moderating Comments
Moderators can moderate comments
Moderating Comments from the Console
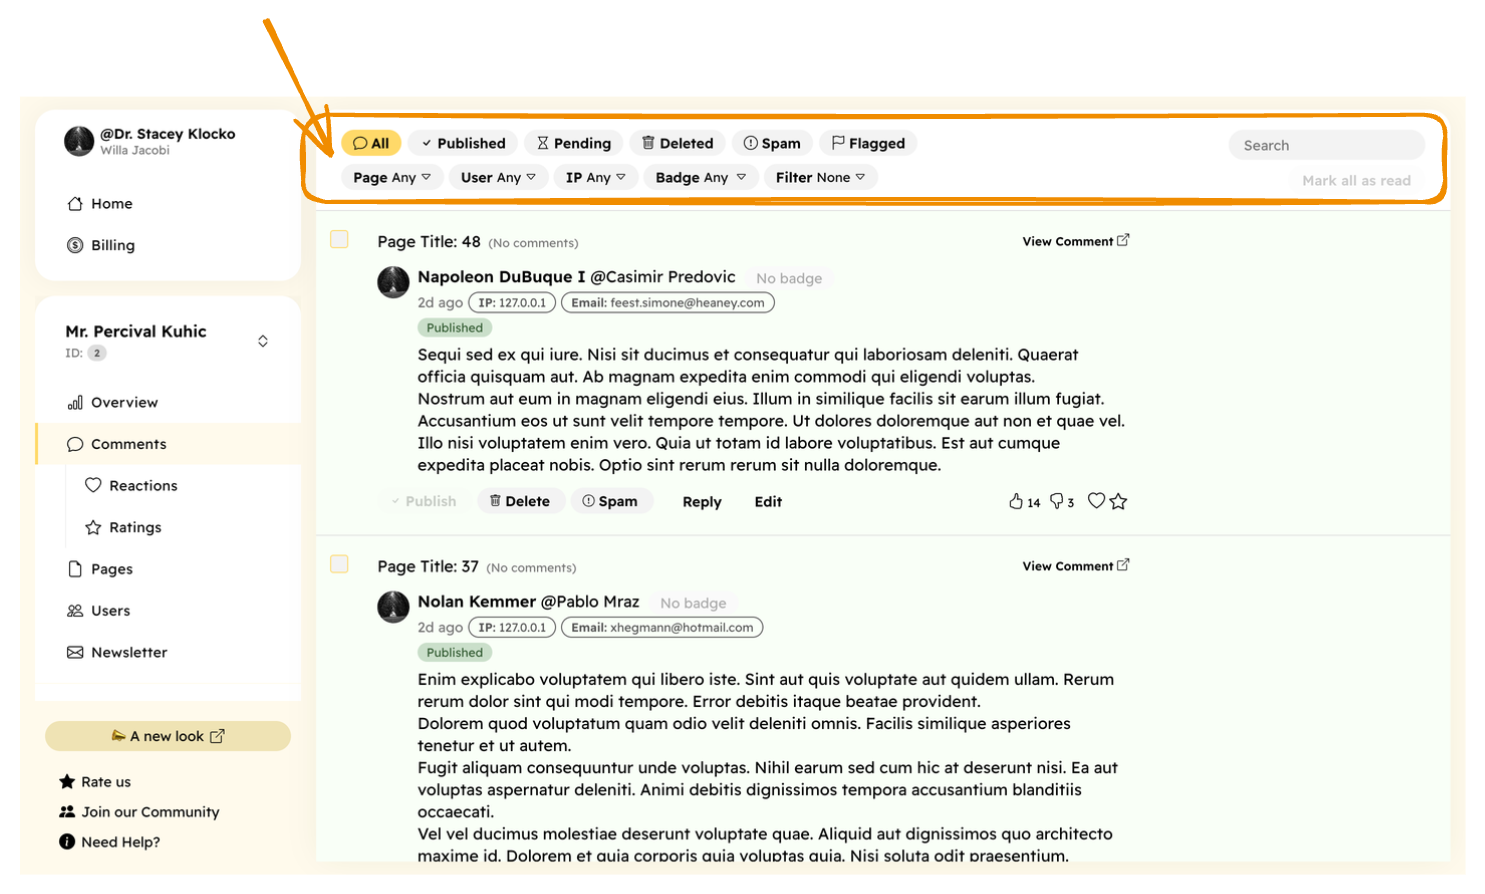
Console → Comments section lists all the comments of your website. You can filter them by:
- Status (see above)
- Flagged (flagged by readers)
- Page
- User
- IP Address
- Badge
- And more like 'has questions', 'has links', 'has media', 'unreplied' etc.
You can also search for comments using the search box.
Changing the comment status
You can use these buttons to change the status of a comment:
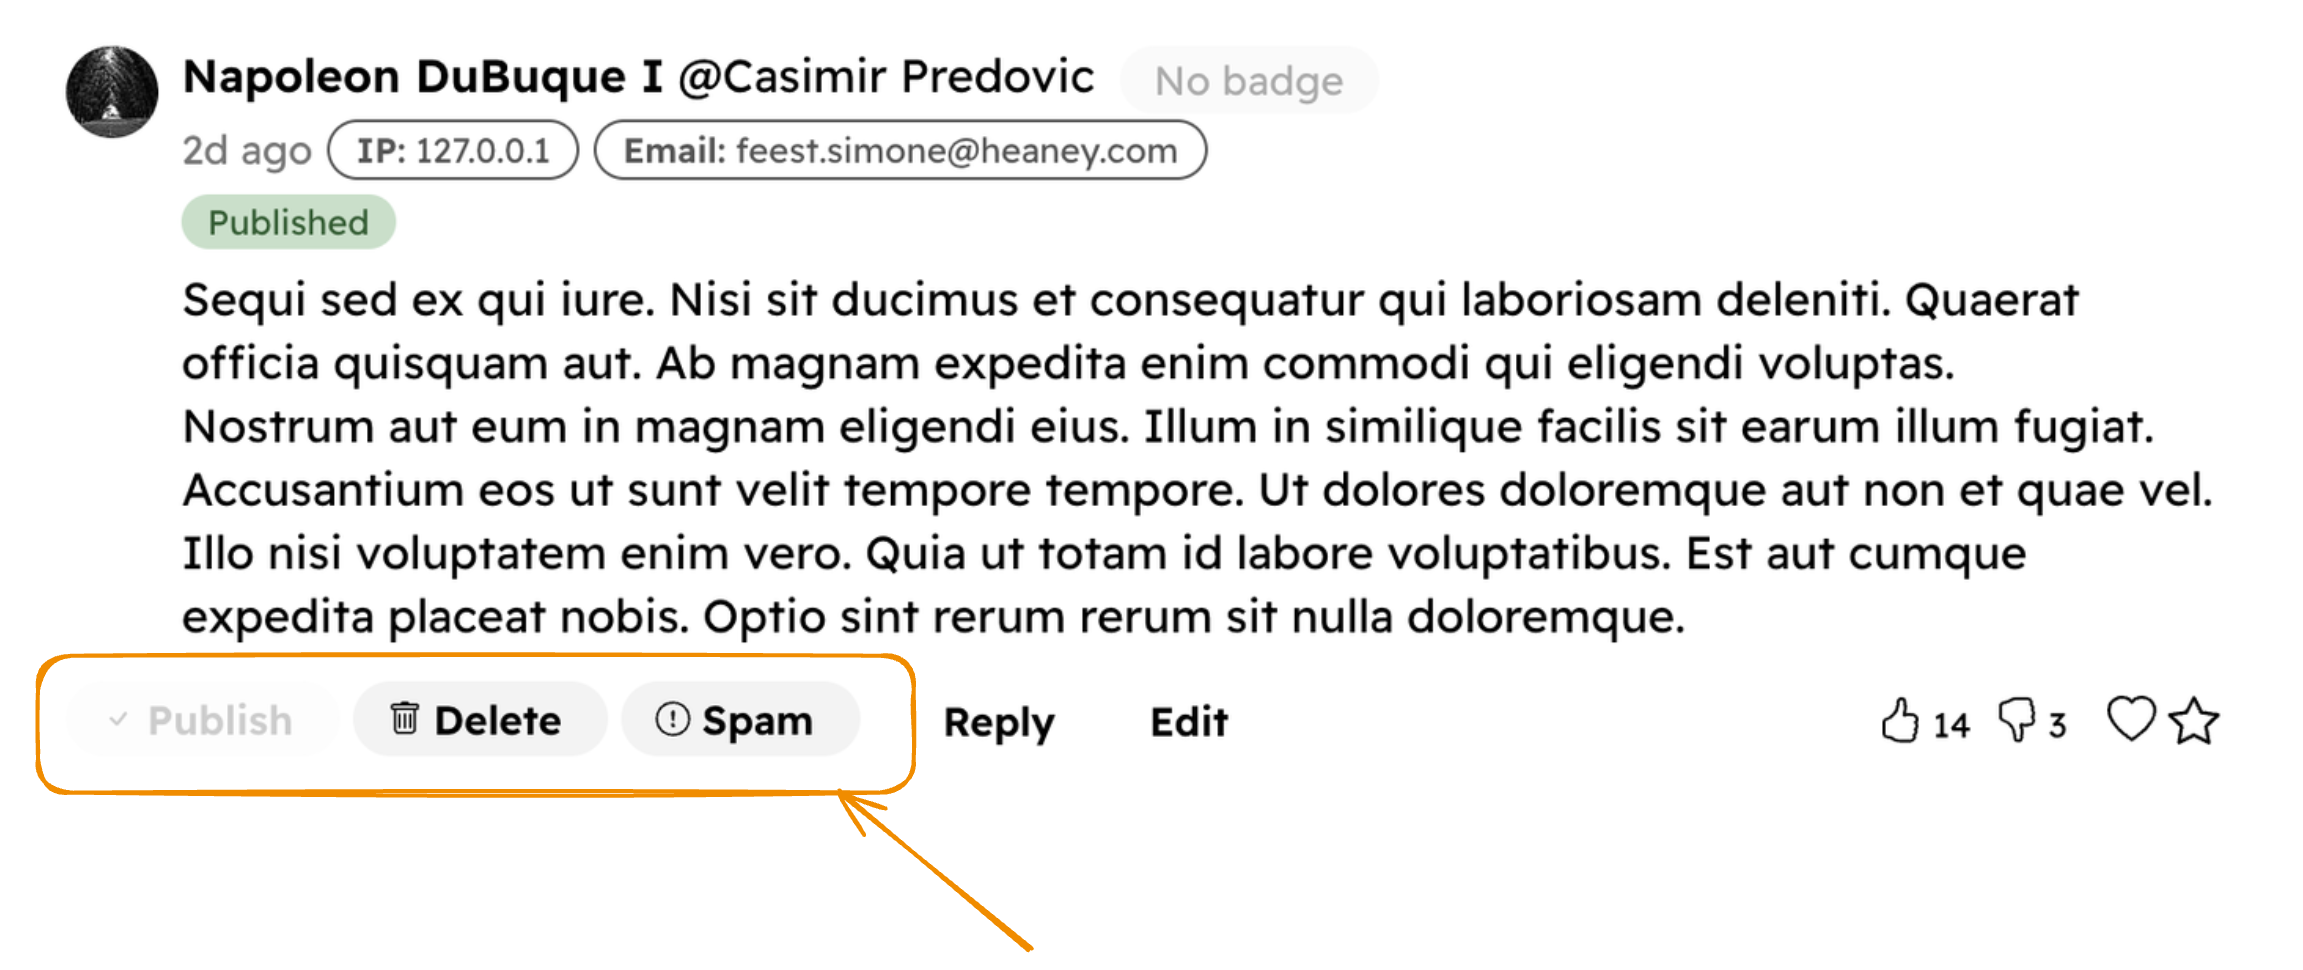
- Publish - To "Published"
- Delete - To "Deleted"
- Spam - To "Spam". Learn more about training the spam filter here.
Replying and editing
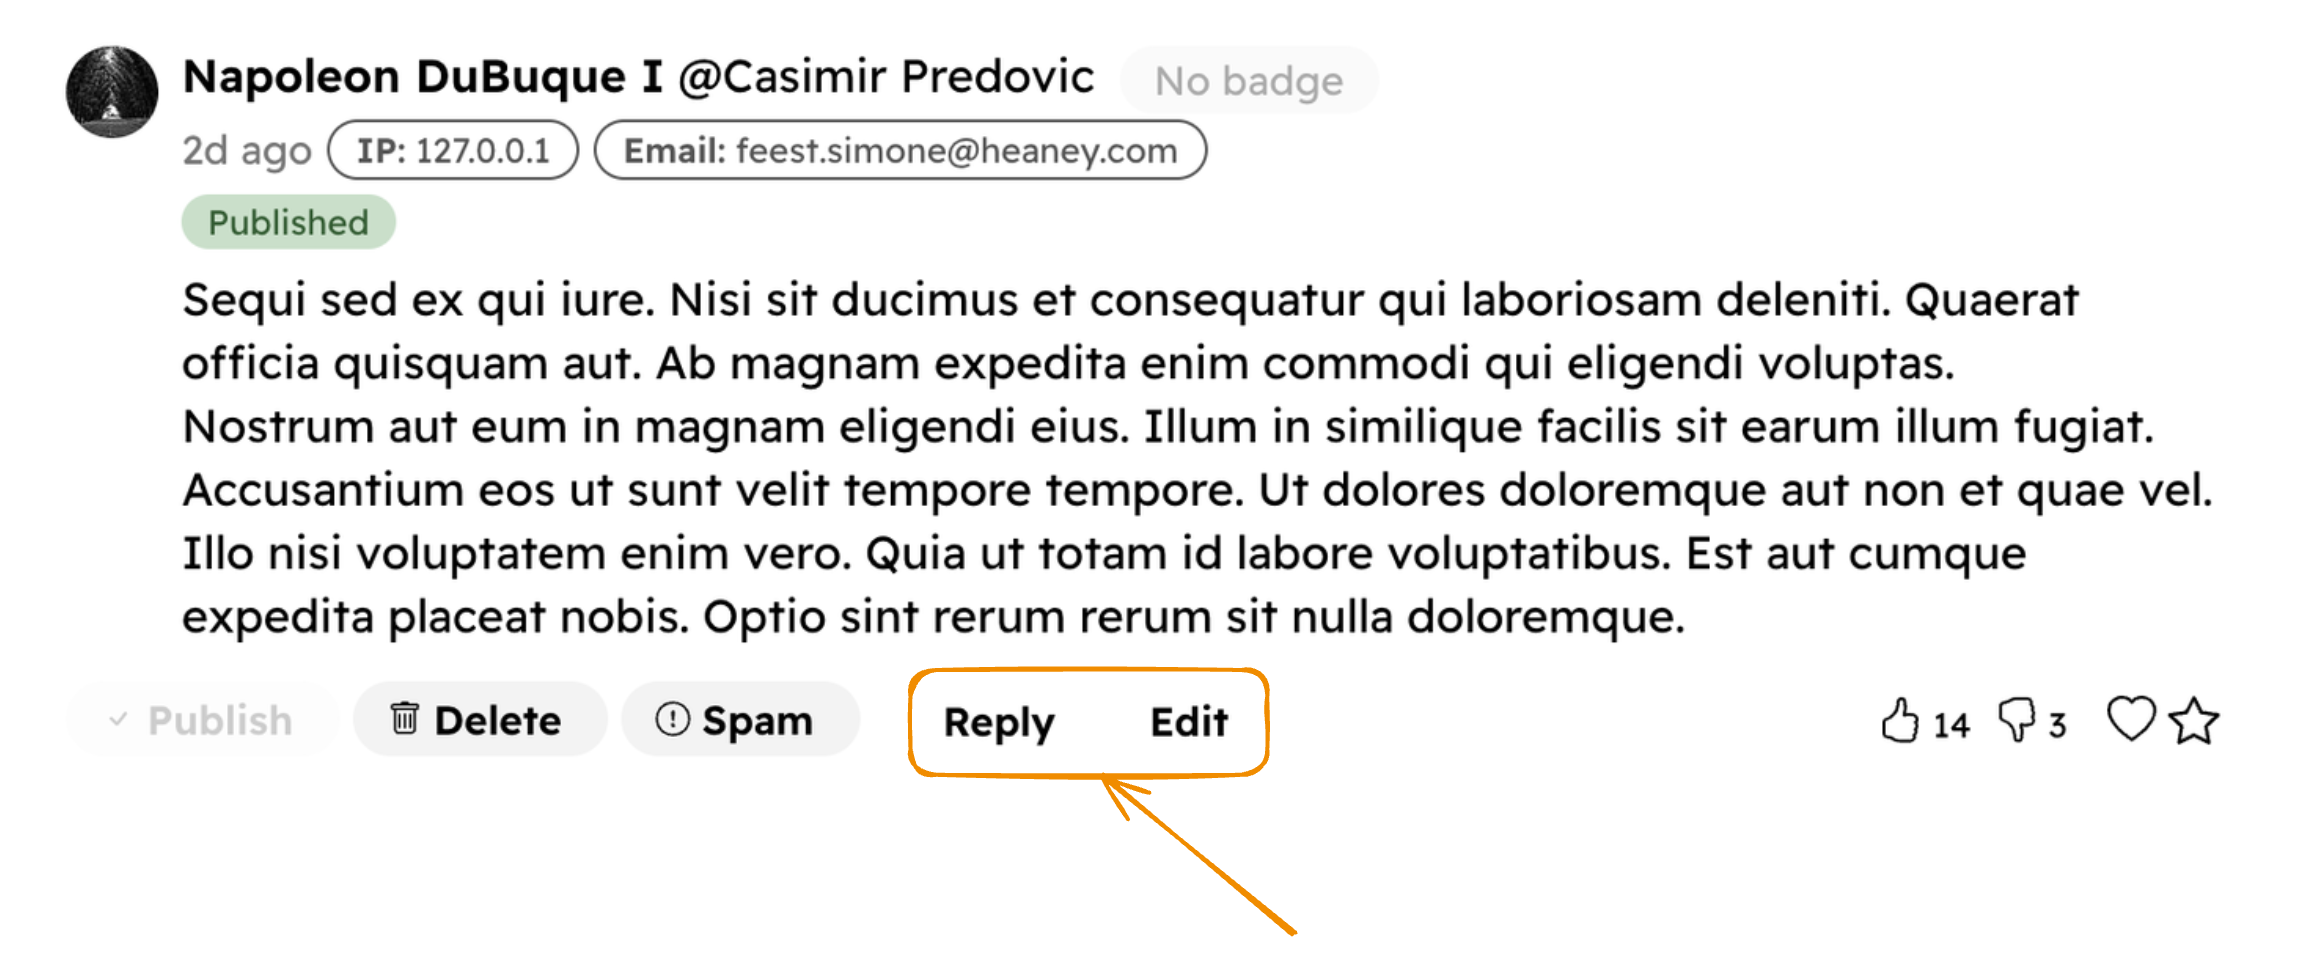
Then, you can reply to the comment or edit it.
Deleting permanently
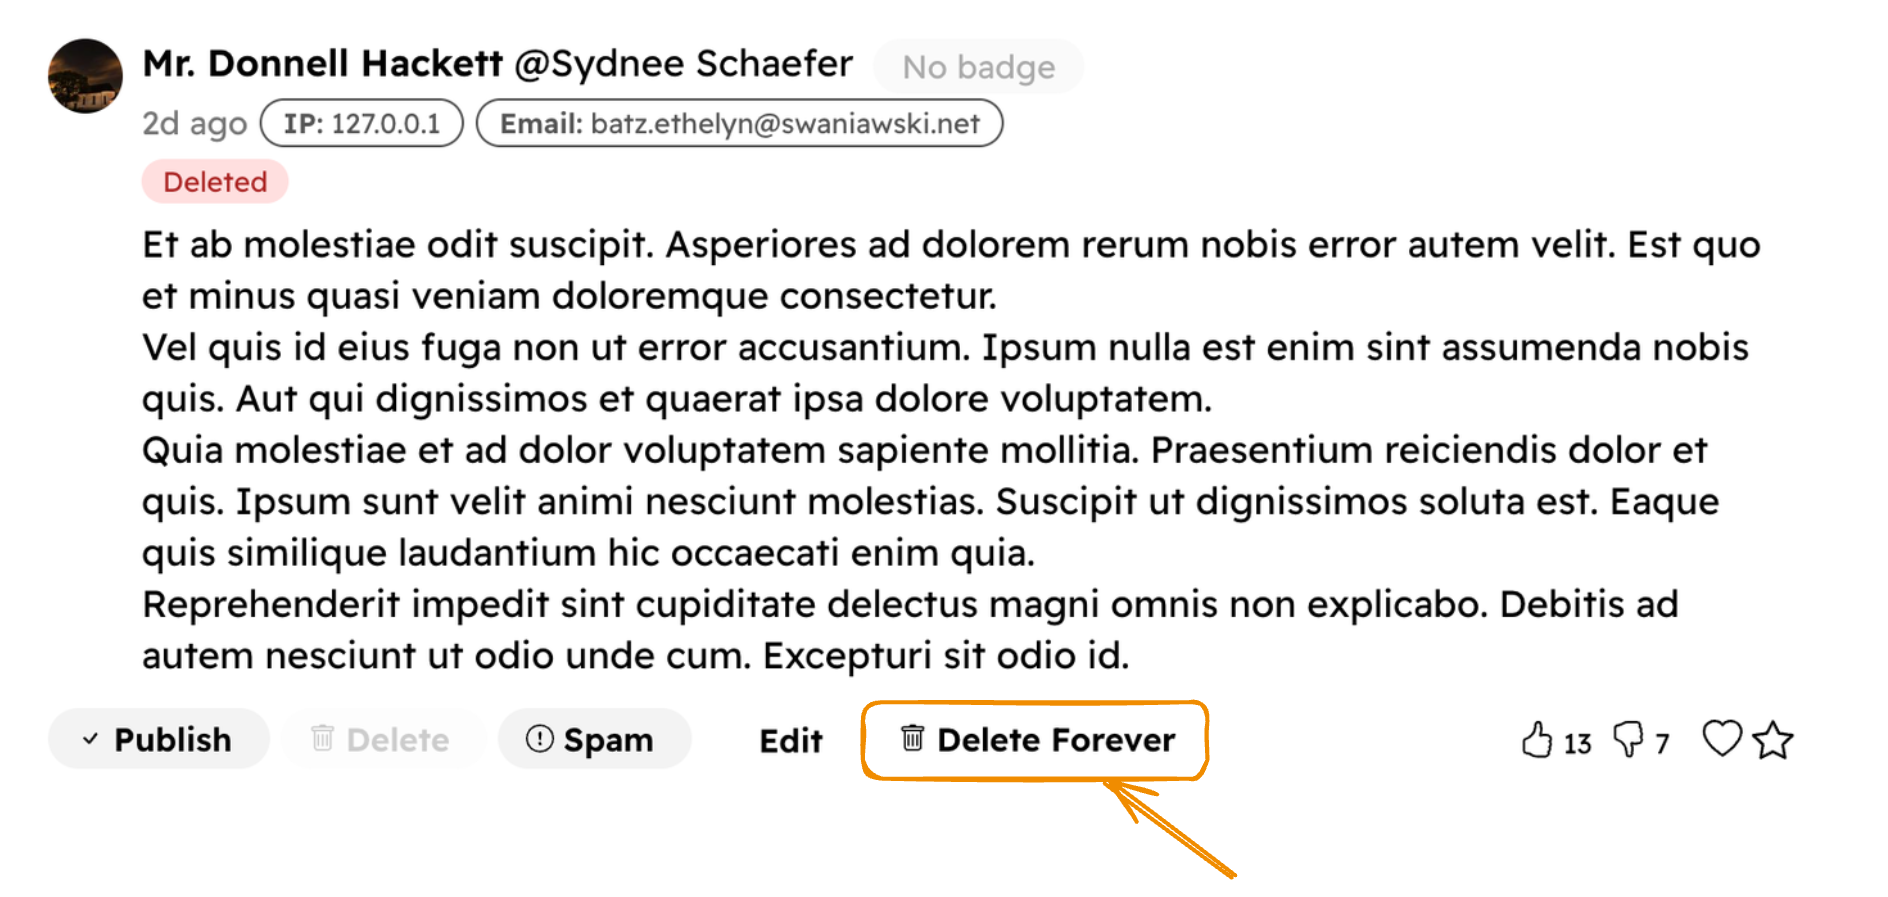
To delete a comment, first, click on the "Delete" button to change the status to Deleted. Then, click on the "Delete Forever" button.
Votes
Moderators can up/down vote on comments from the Console. Their account will be shown as the voter.
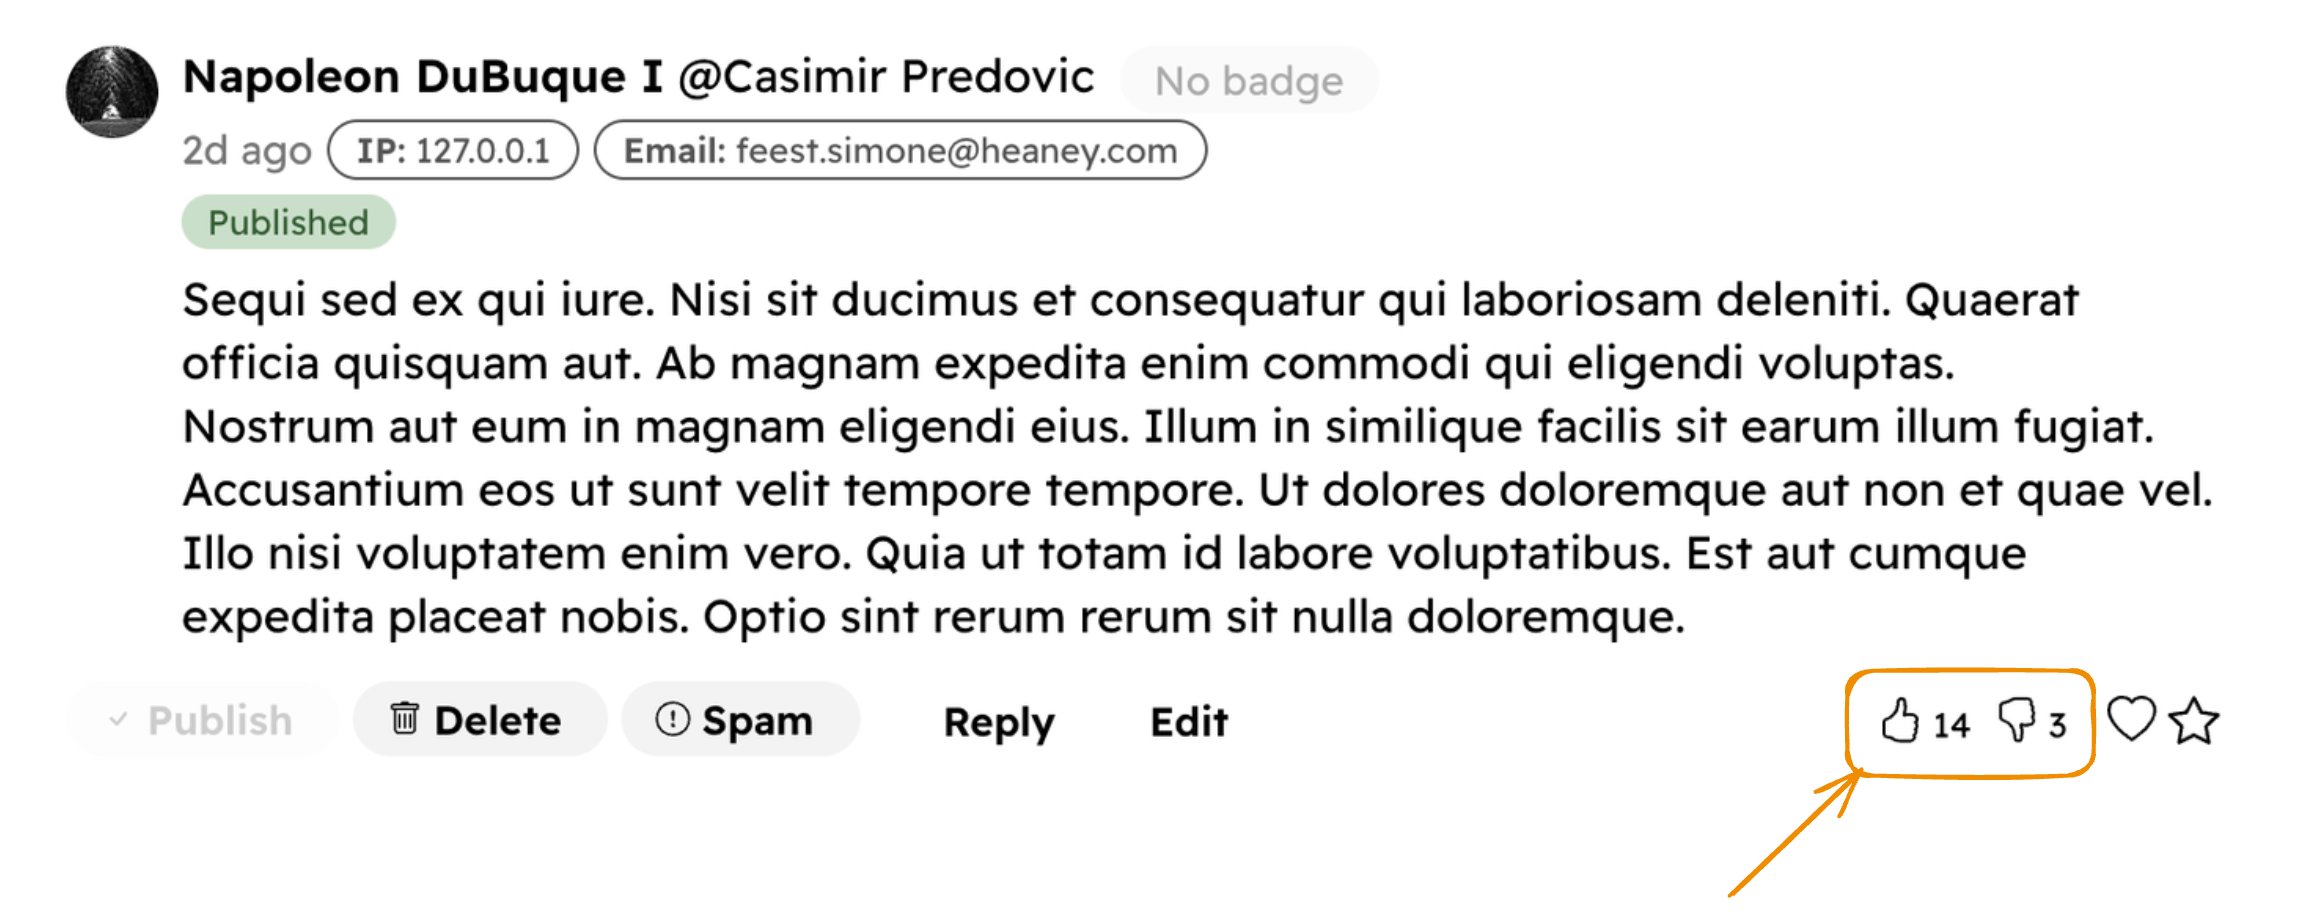
You can see who voted by hovering over the vote count. You can also delete user votes if you want.

Loves
Moderators can "love" a comment. Unlike votes where the moderator's account is used, loves are website-wide.
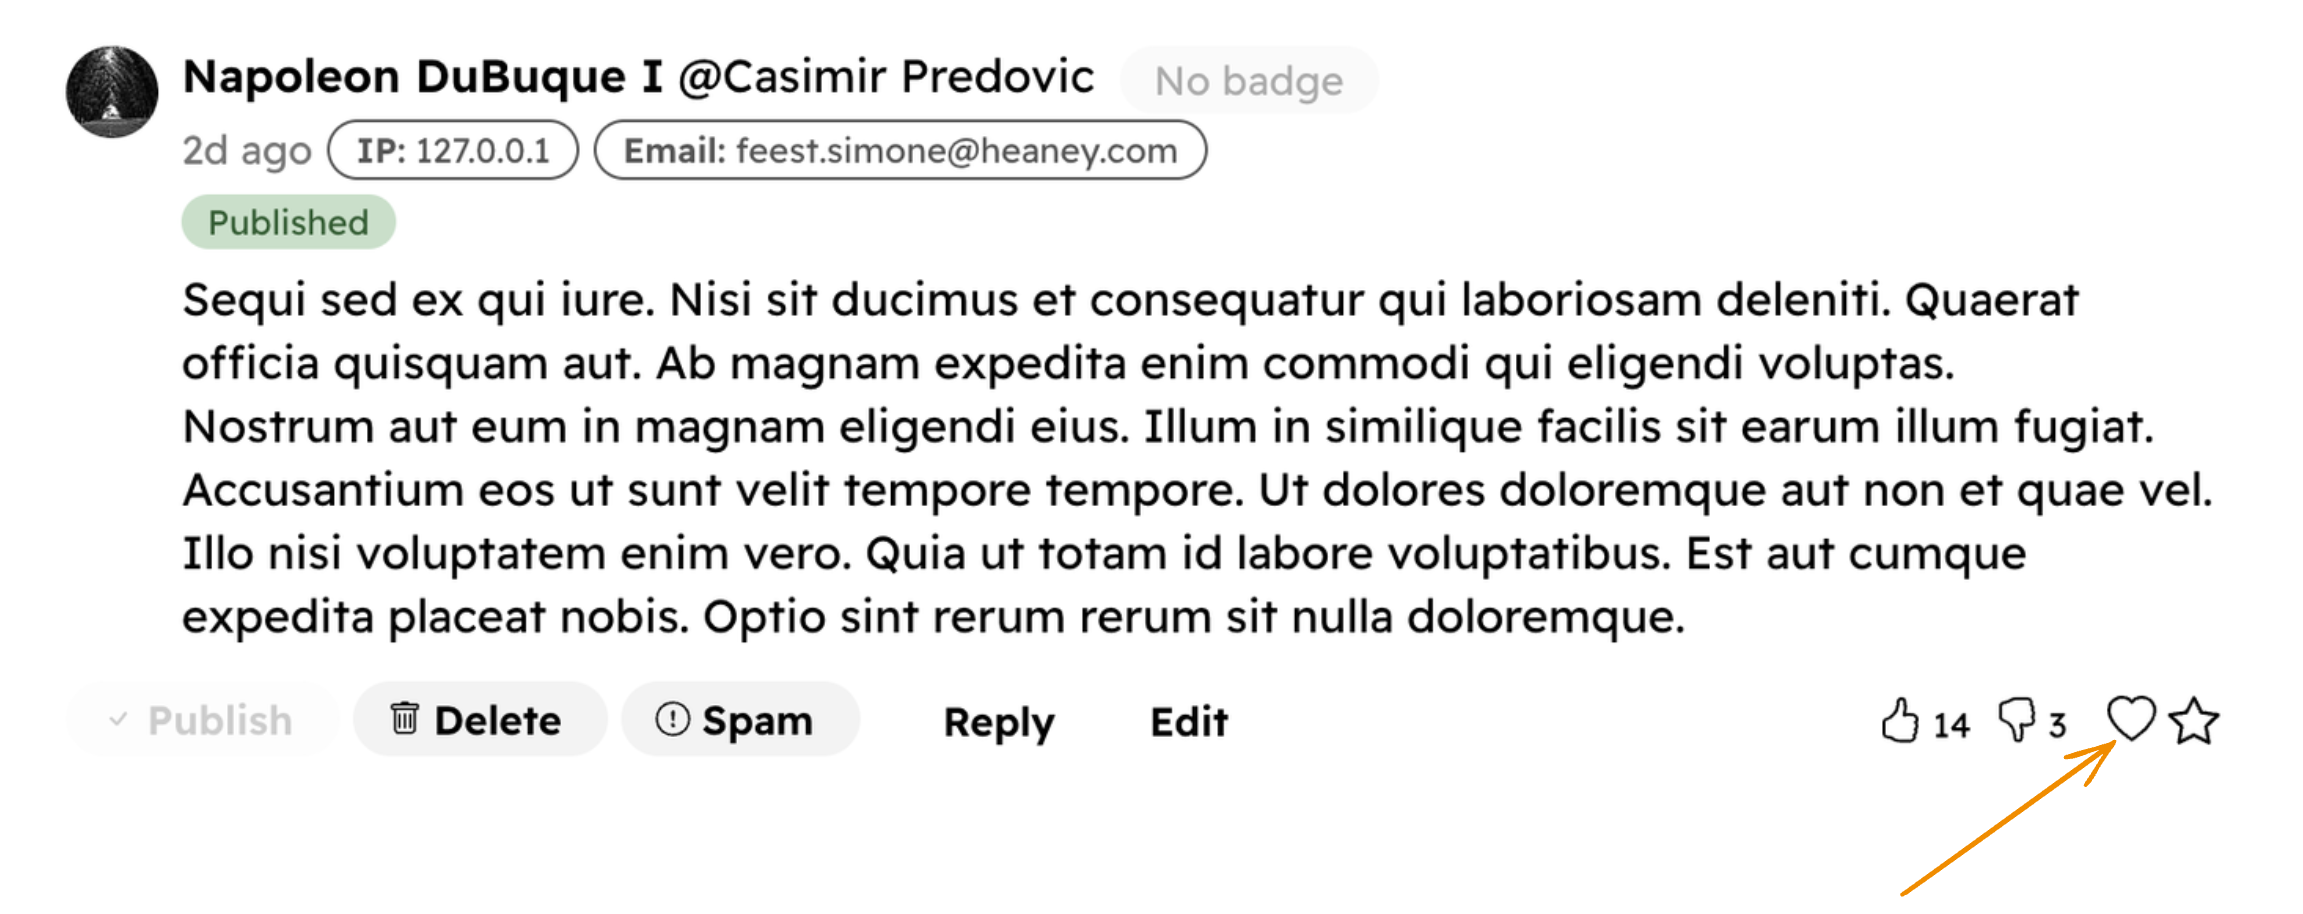
In the comments section, you can see something like this (Loved by {YOUR WEBSITE NAME})

Featuring
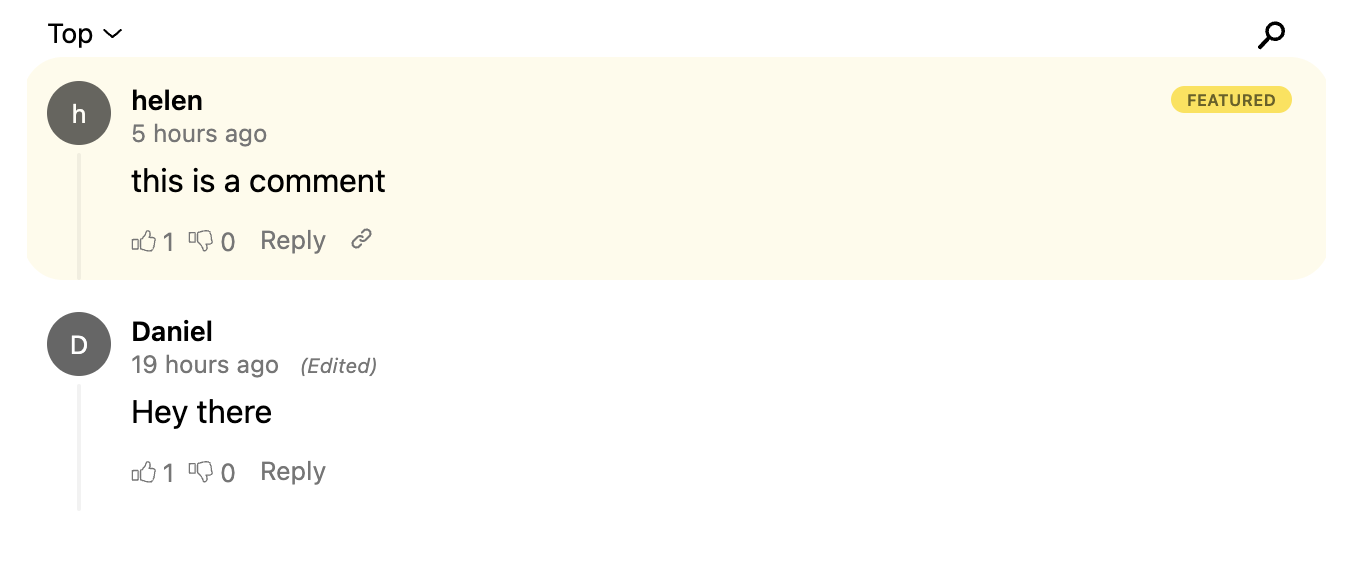
You can feature one or more comments. Note that you can only feature top-level comments, not replies.
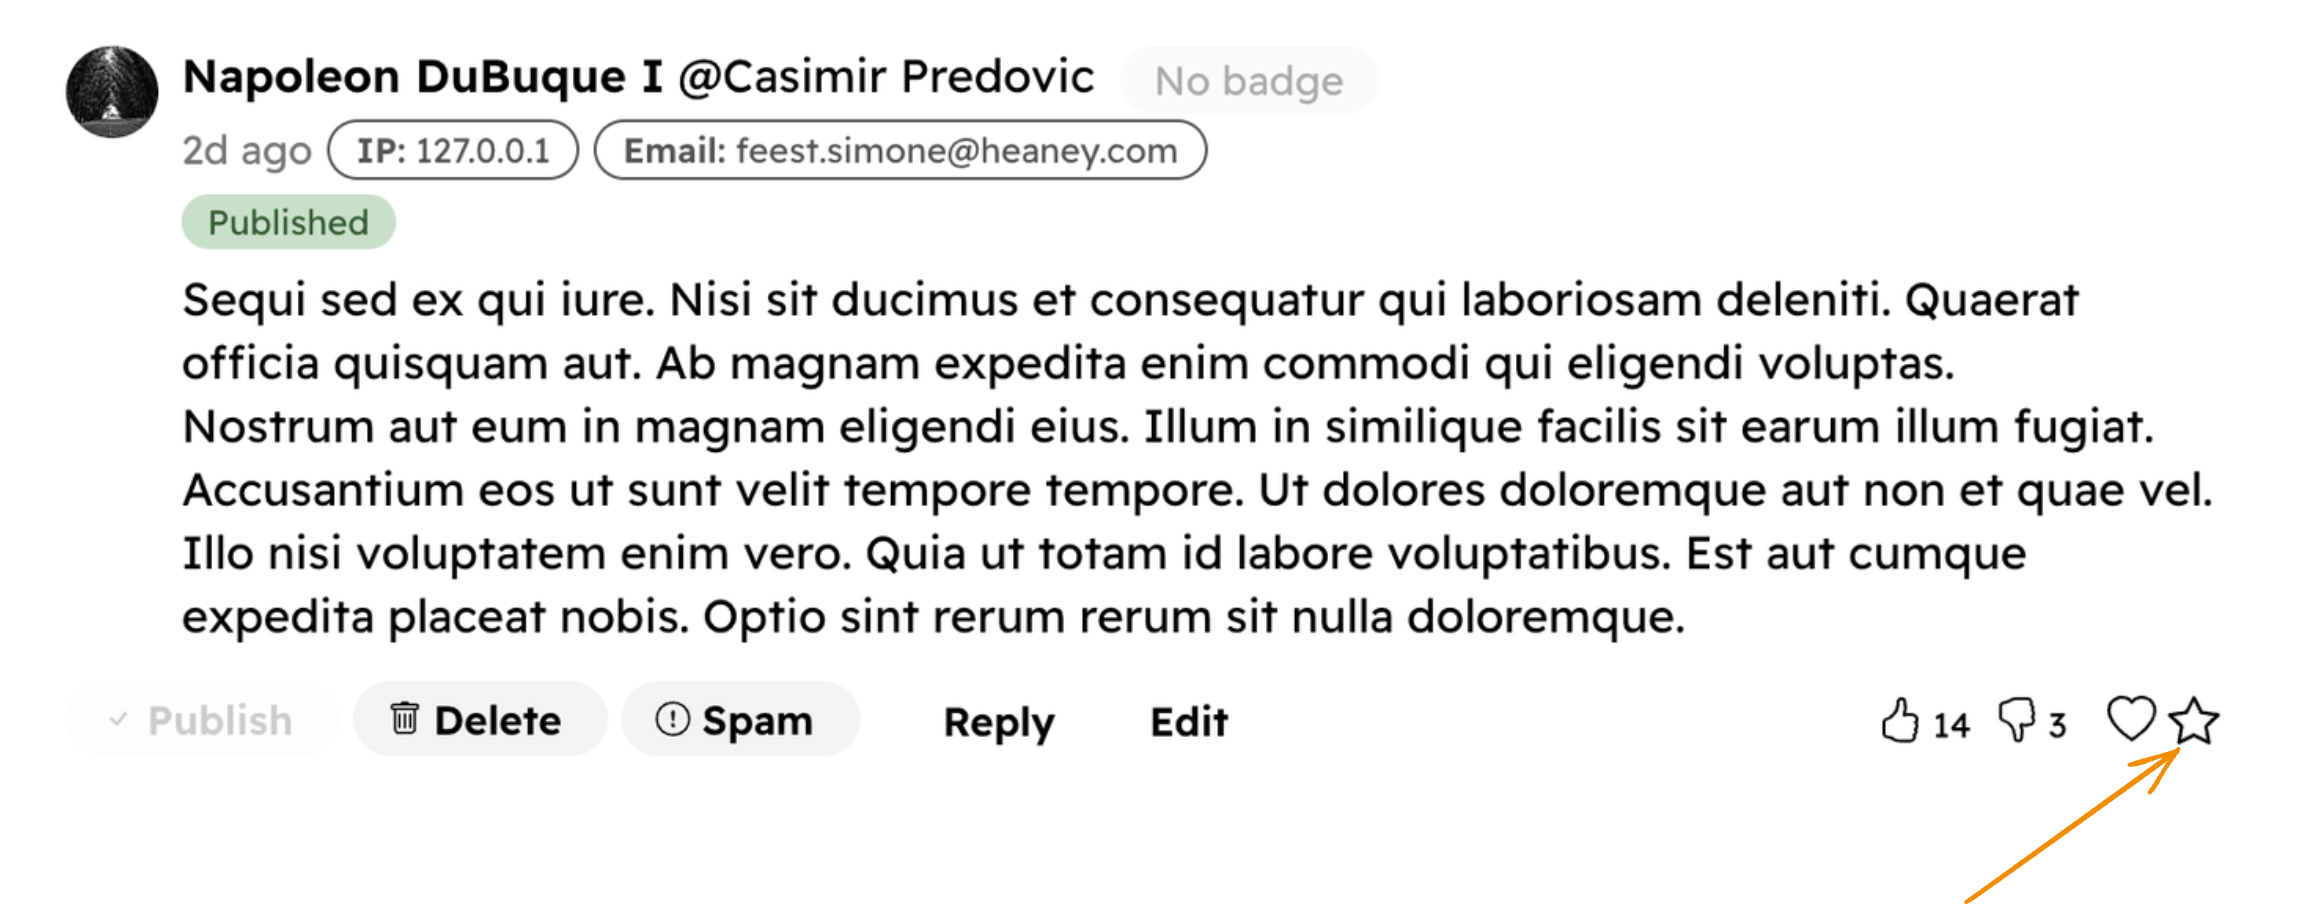
Featured comments will be shown at the top of the comments section.
Flagged Comments
Your readers can flag comments they think are inappropriate. You can see them in the Flagged section. Each comment will have a flag icon on the right side with the number of flags.
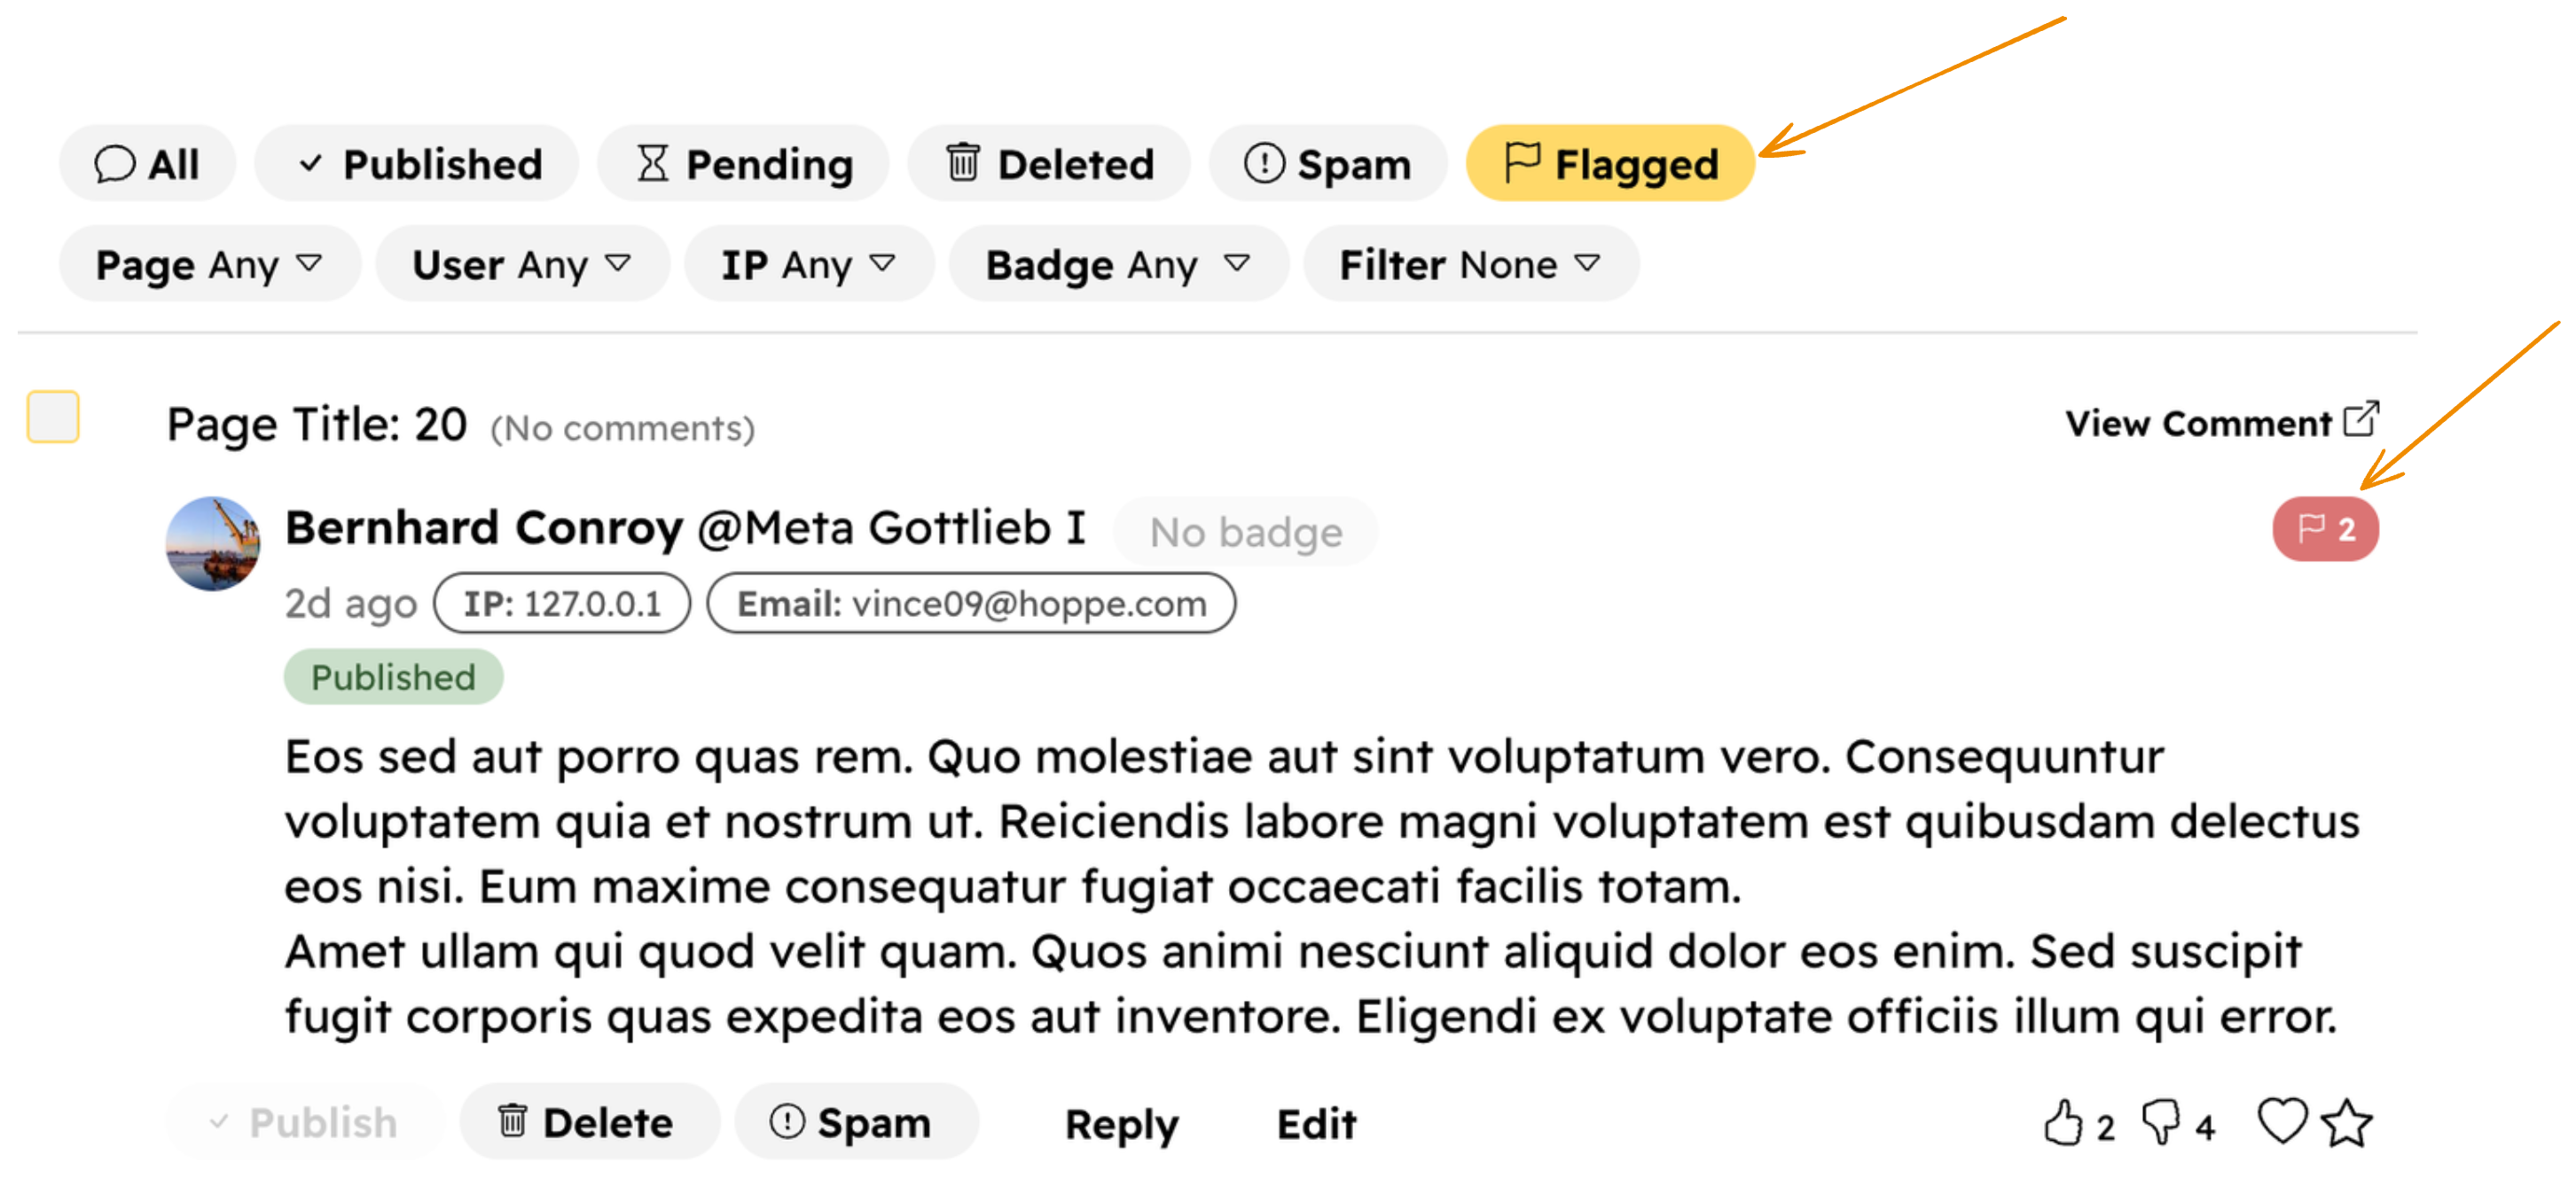
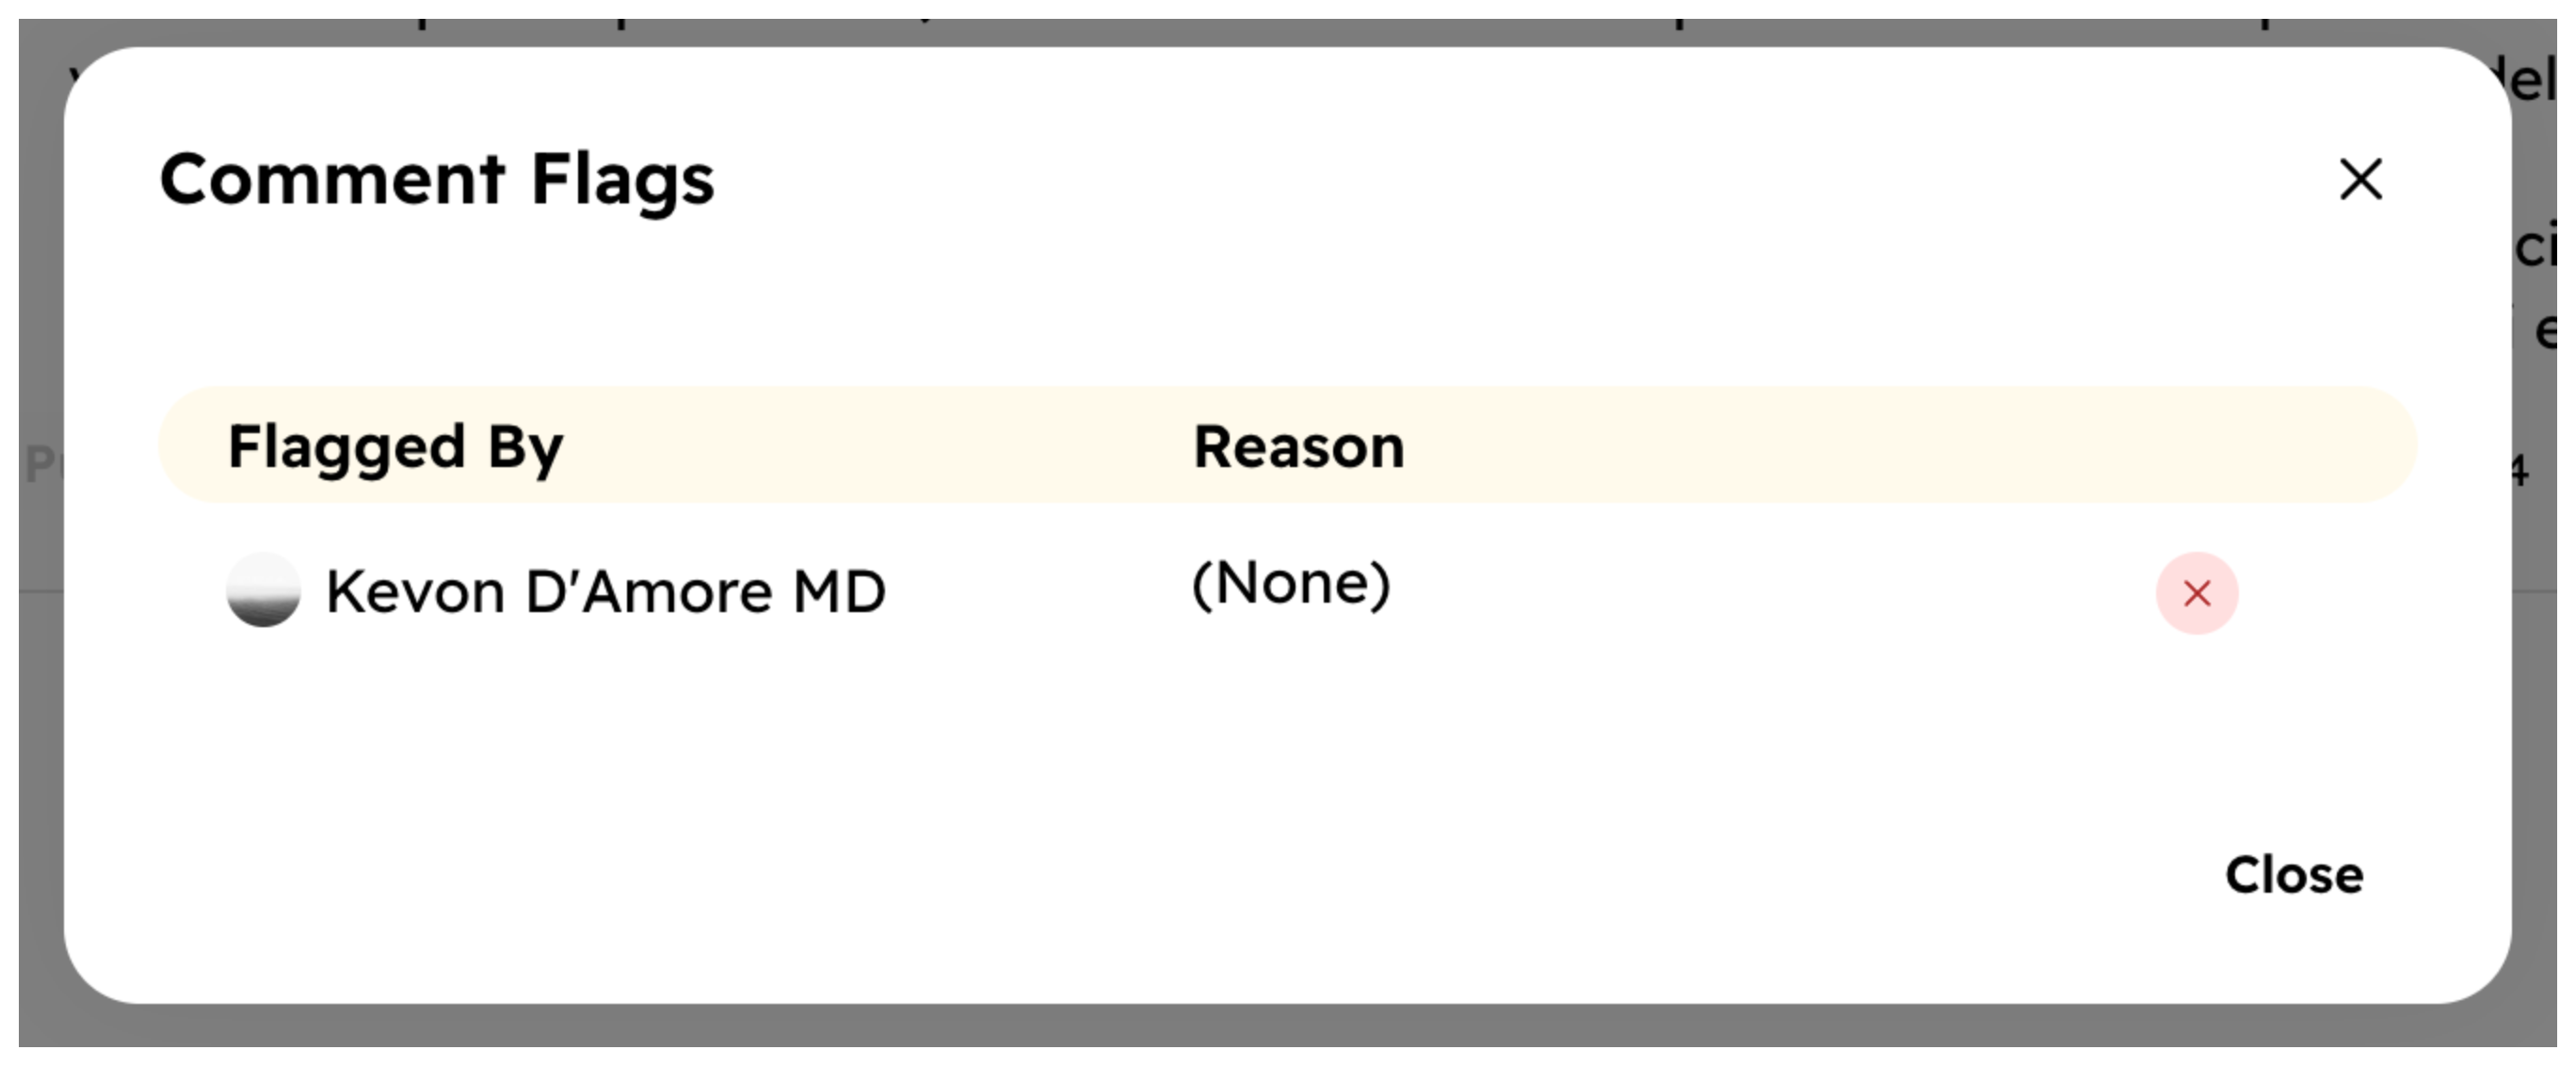
You can click on the flag icon to view all flags, including the flagged user's details and the reason for flagging (if provided).
Moderating Comments from the Embed
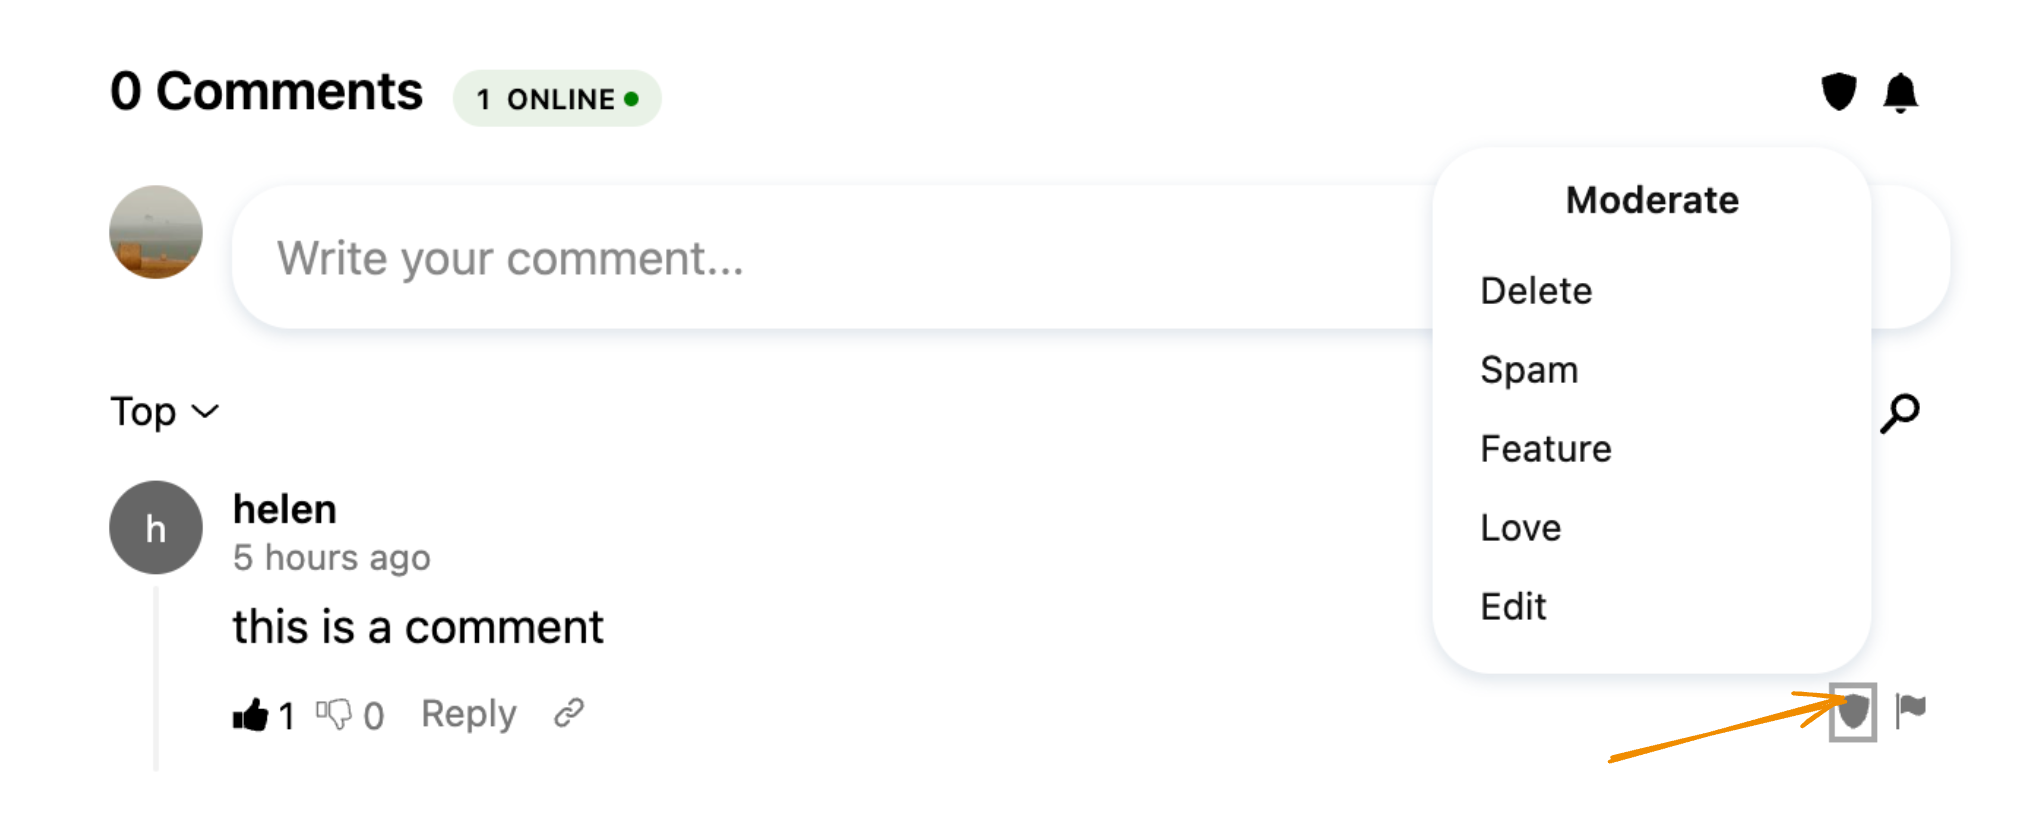
Most of the moderation features are also available in the Embed. Click the moderate icon to see them.
Moderating Users
Moderators can moderate users from the Console. Hyvor Talk has three types of users (learn more):
- Guest
- HYVOR
- SSO
You can only moderate HYVOR and SSO users. Use IP Moderation to moderate guests.
User State
A user in your website has one of the following states:
Viewing Users
Console → Users section lists all the users of your website. You can filter them by their state, or search by their name or email.
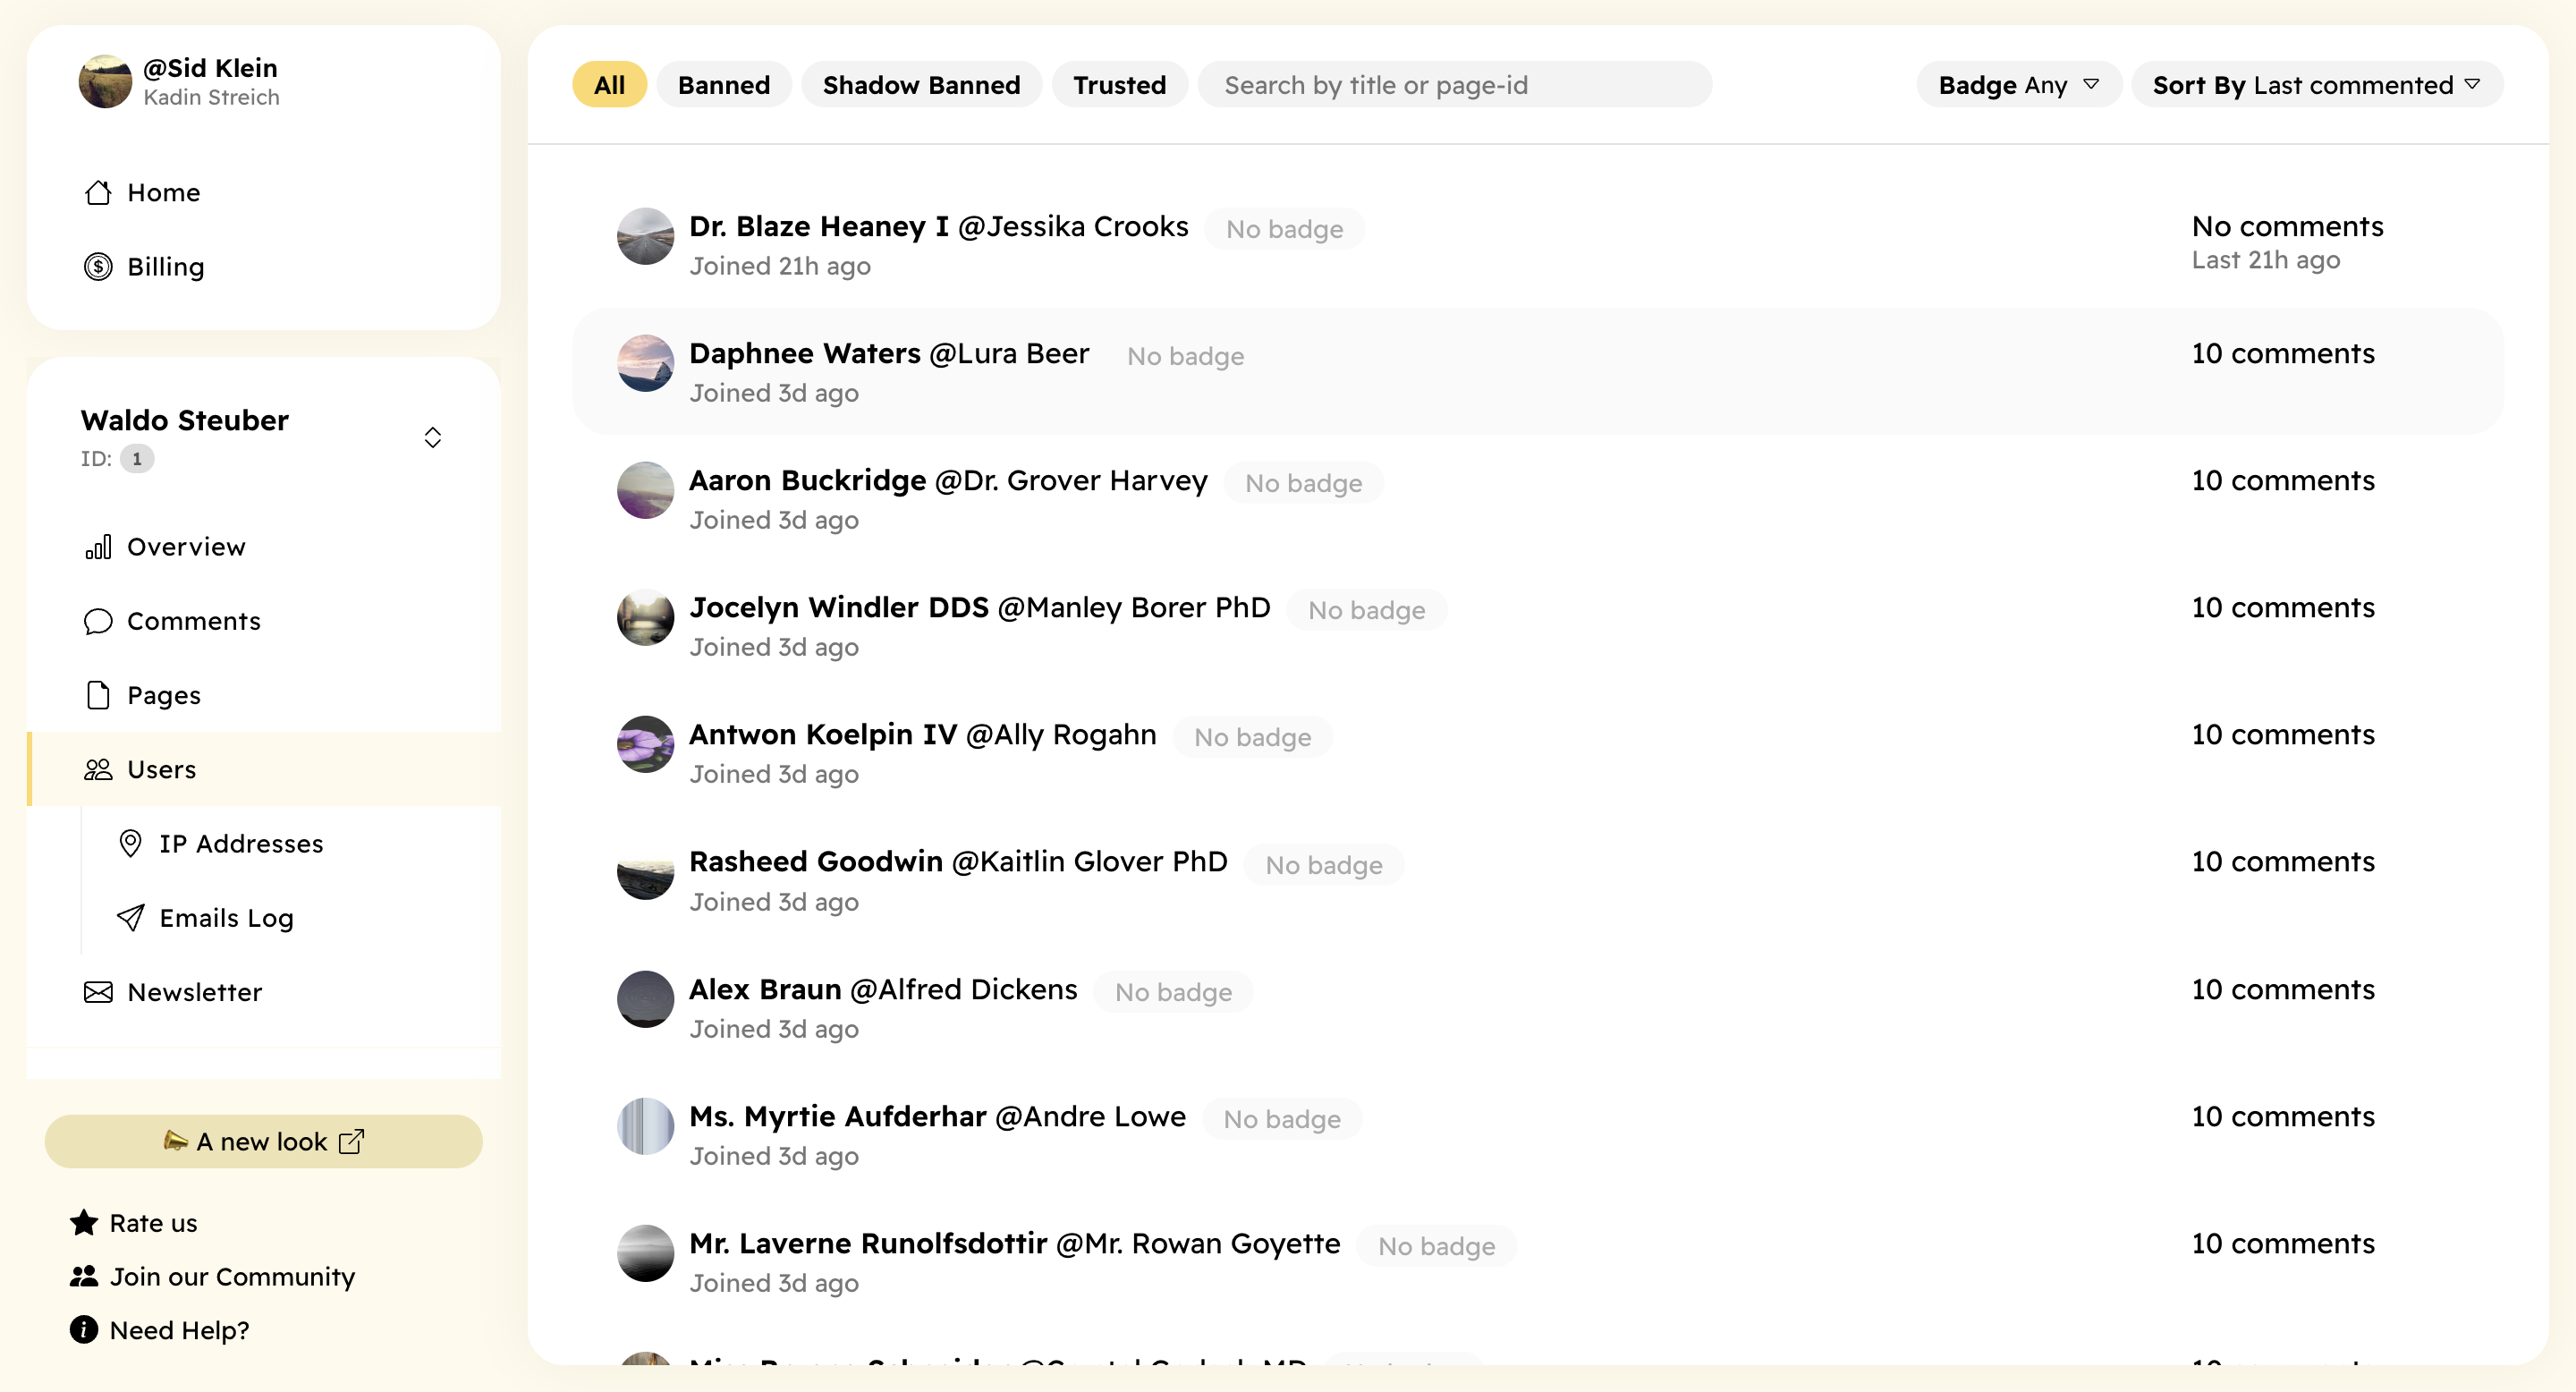
Click on a user to view their details and moderation options.
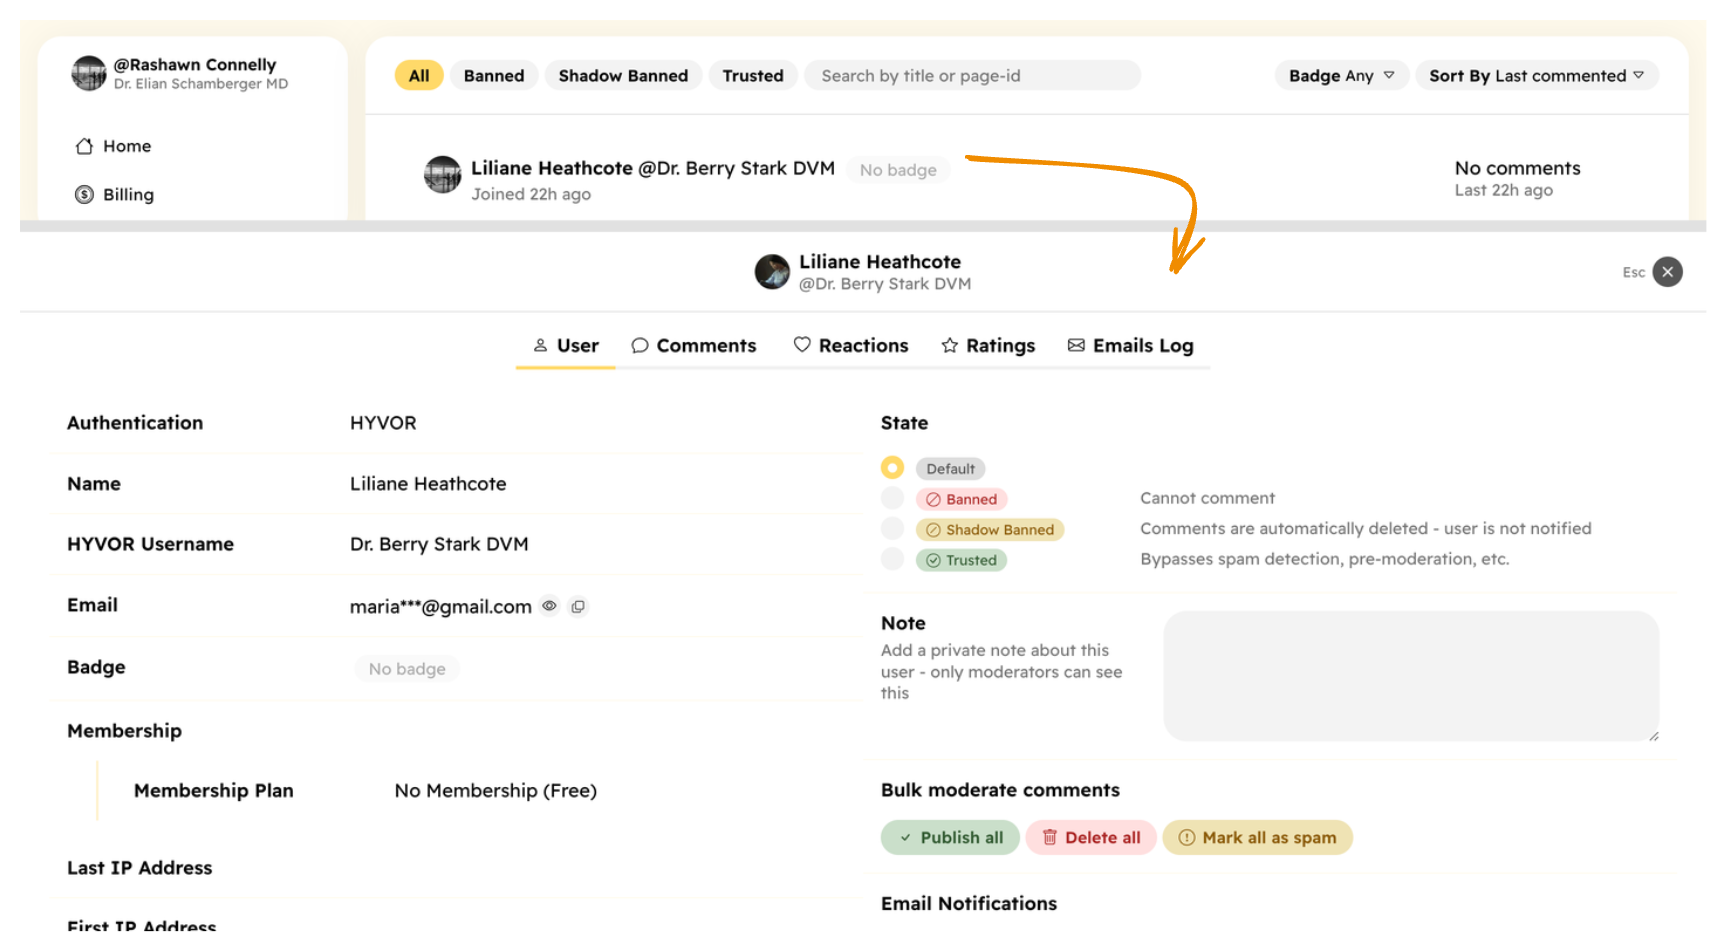
Here you can,
- Change the user's state
- Add a note (visible only to moderators)
- Bulk moderate the user's comments
Badges
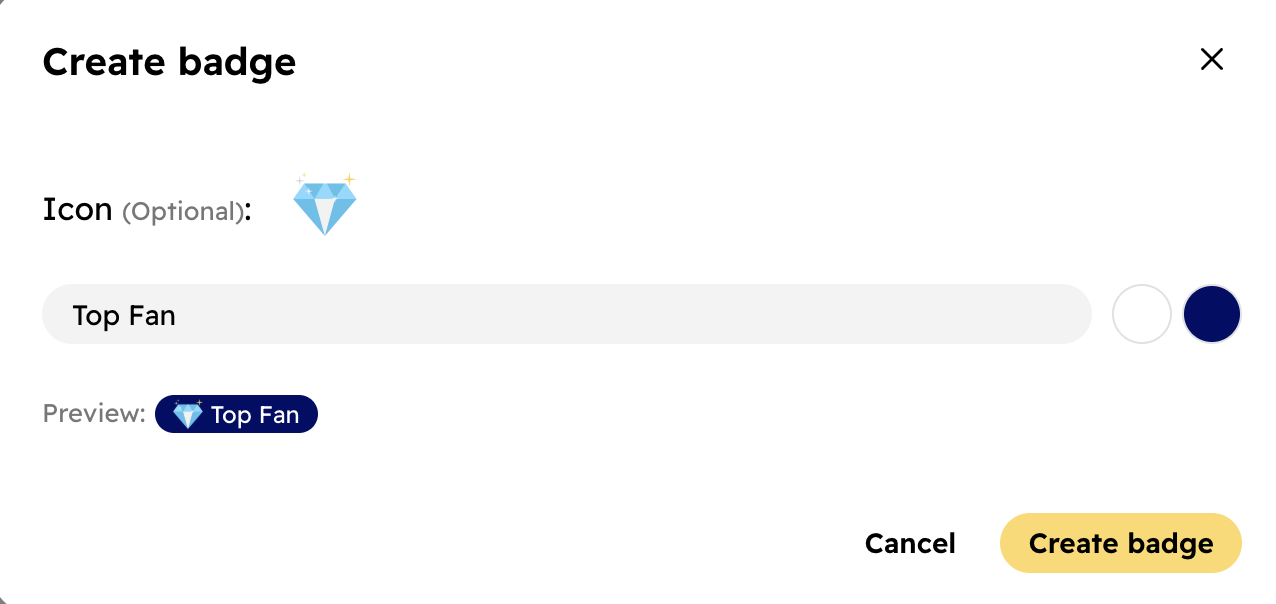
You can assign badges to your users. Badges are visible to everyone. First, go to Console → Settings → Badges and create badges.
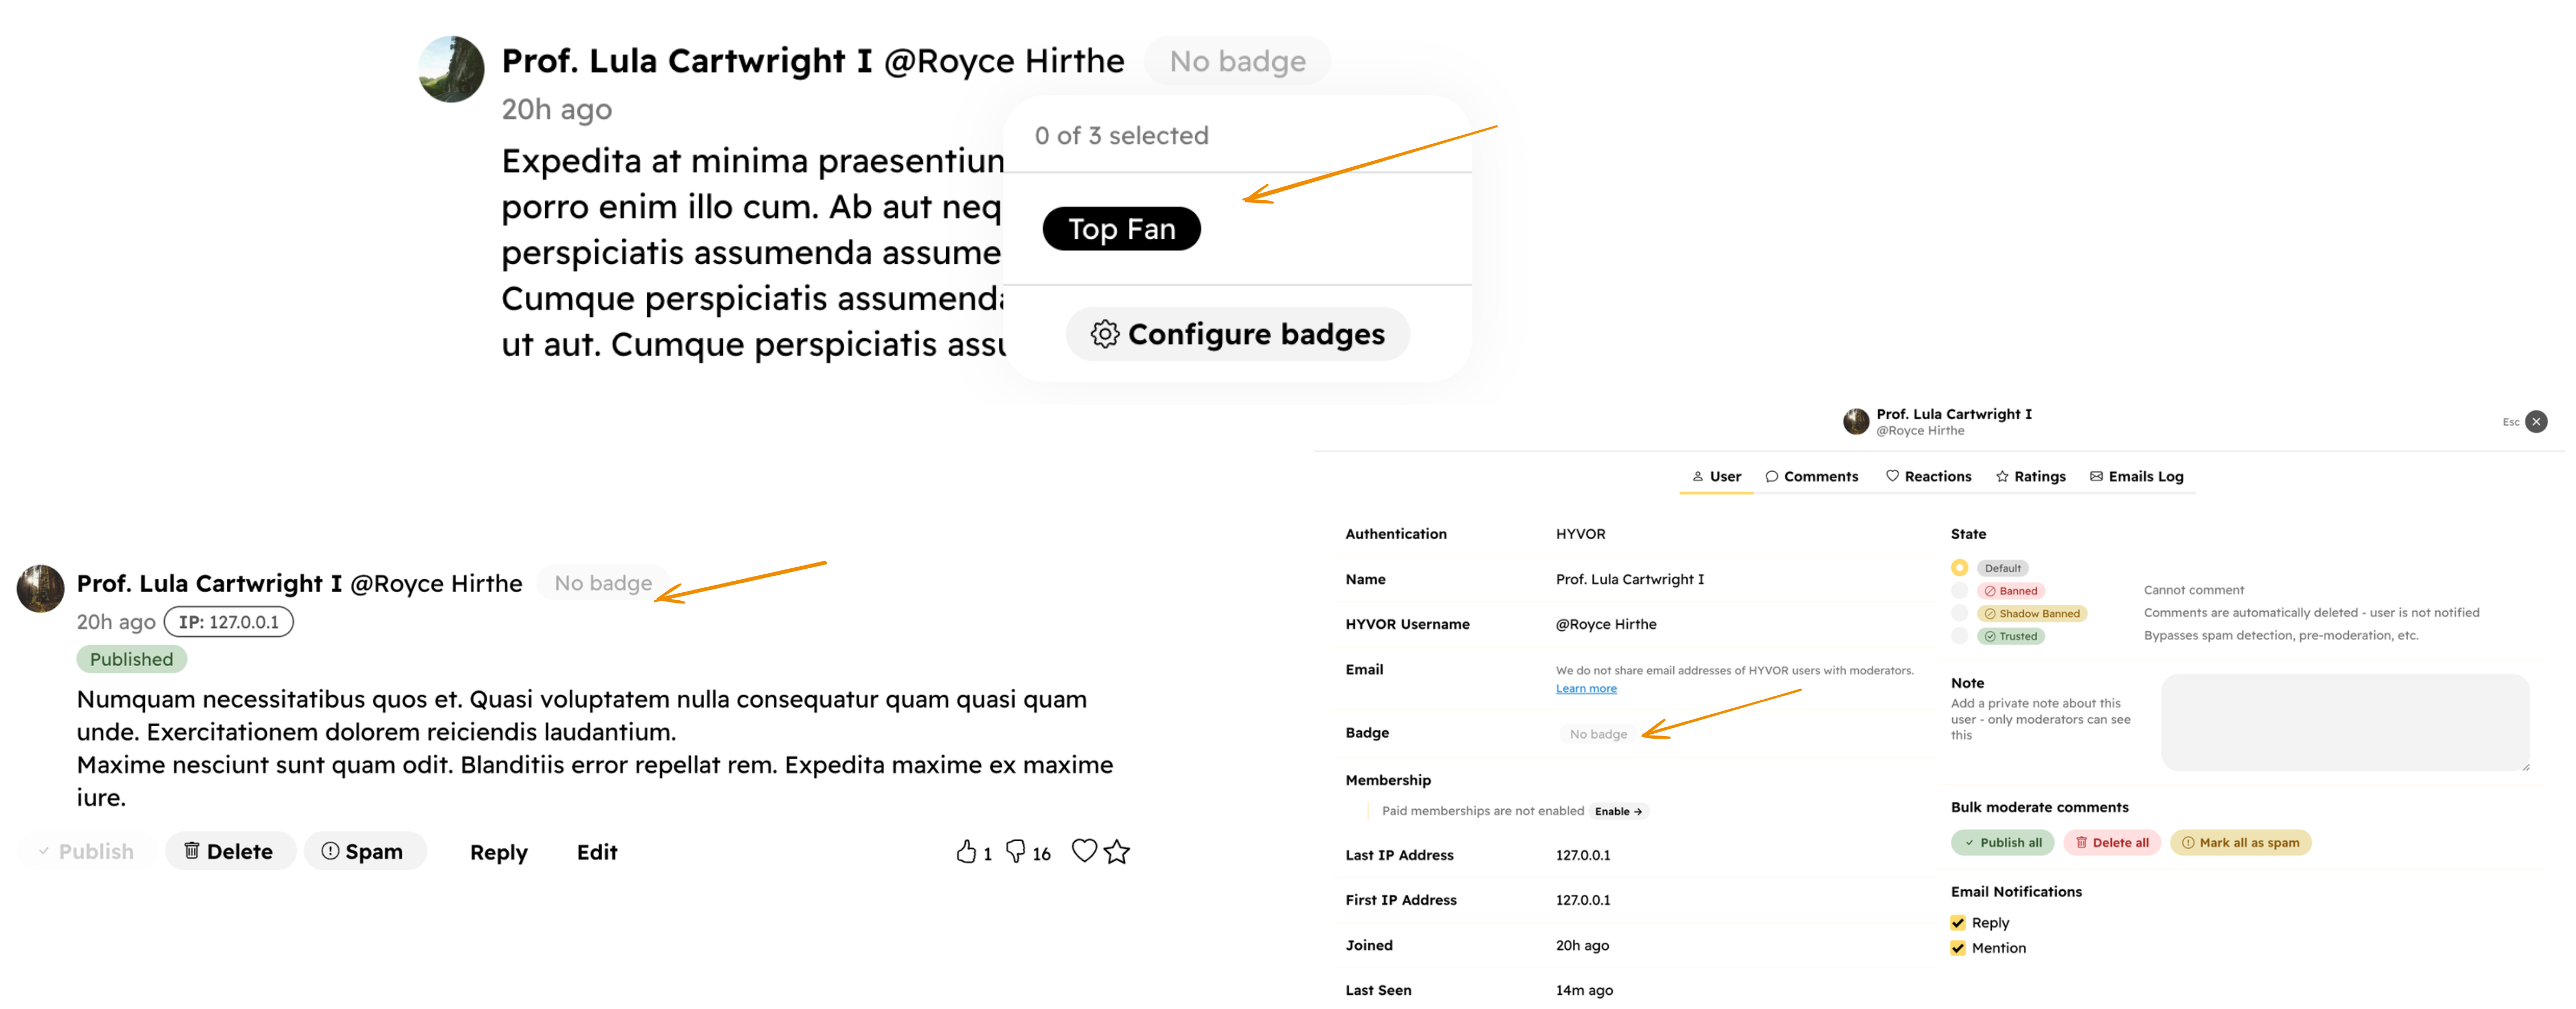
You can assign badges to your users in the Comments section, in the user moderation panel, and many places where the user's name is shown.
You can also use Badges with Memberships.
HYVOR User Email
According to our privacy policy, we do not share email addresses of the users with moderators. The reason is that most users who comment on a website do not expect their email addresses to be shared with the website owner. This limitation does not apply to SSO users as their email addresses are already shared within your authenticating system.
We understand that some websites may need to contact users via email in some cases. We are working on a feature to allow you to email them via a relay system.
Moderating IPs
If you have Settings → Embed Configurations → Privacy → IP Moderation enabled (enabled by default), you can moderate IPs from the Console.
To open the IP moderation panel, click on an IP address near a comment.
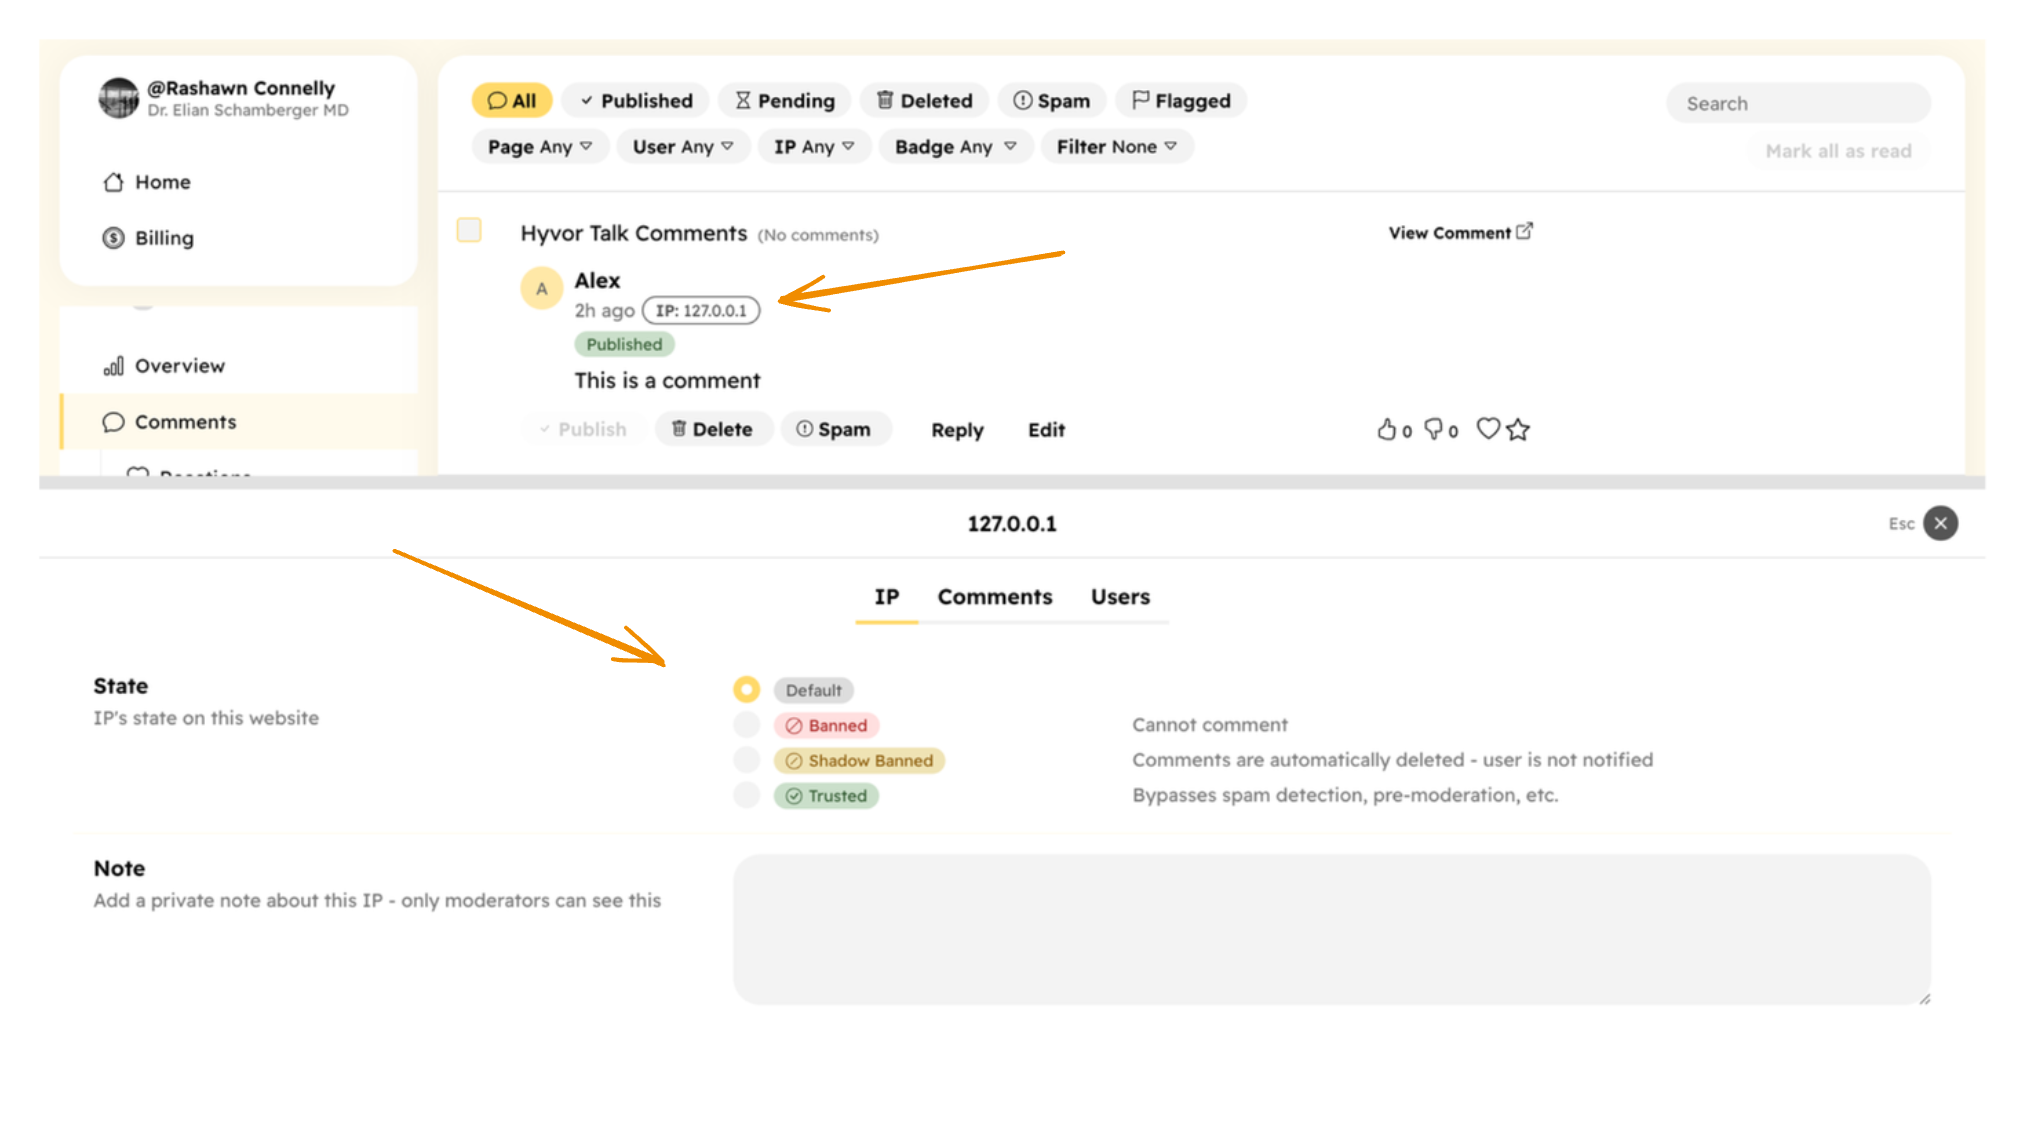
IP states are similar to user states.
Moderating Pages
Pre-Moderation
When pre-moderation is enabled, all comments will be held for moderation. They will not be visible to anyone until a moderator approves them.
You can enable pre-moderation for a specific page from Console → Pages → [Your Page] → Pre-Moderation.
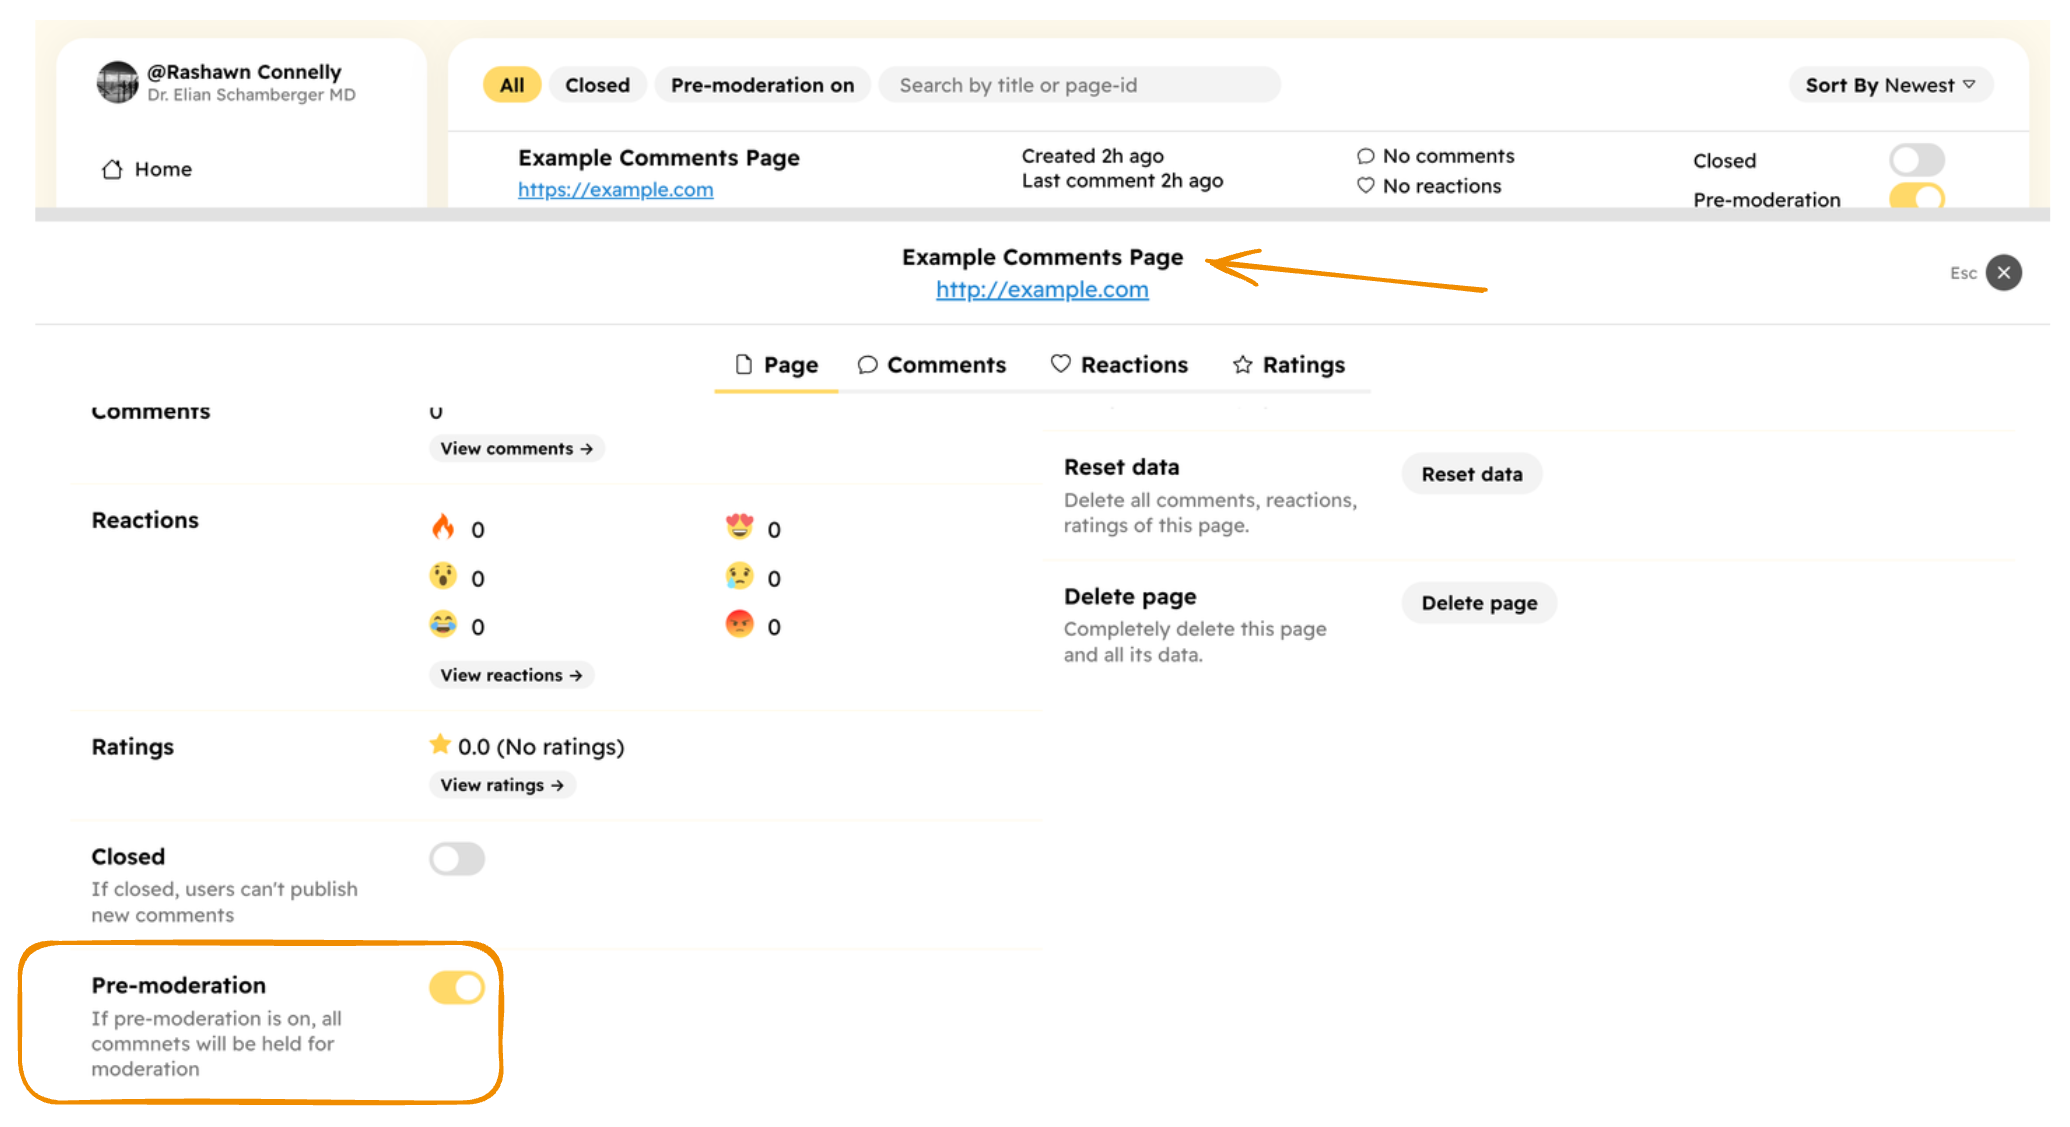
Or, you can enable pre-moderation site-wide from Console → Settings → Embed → Configuration.

Closing Pages
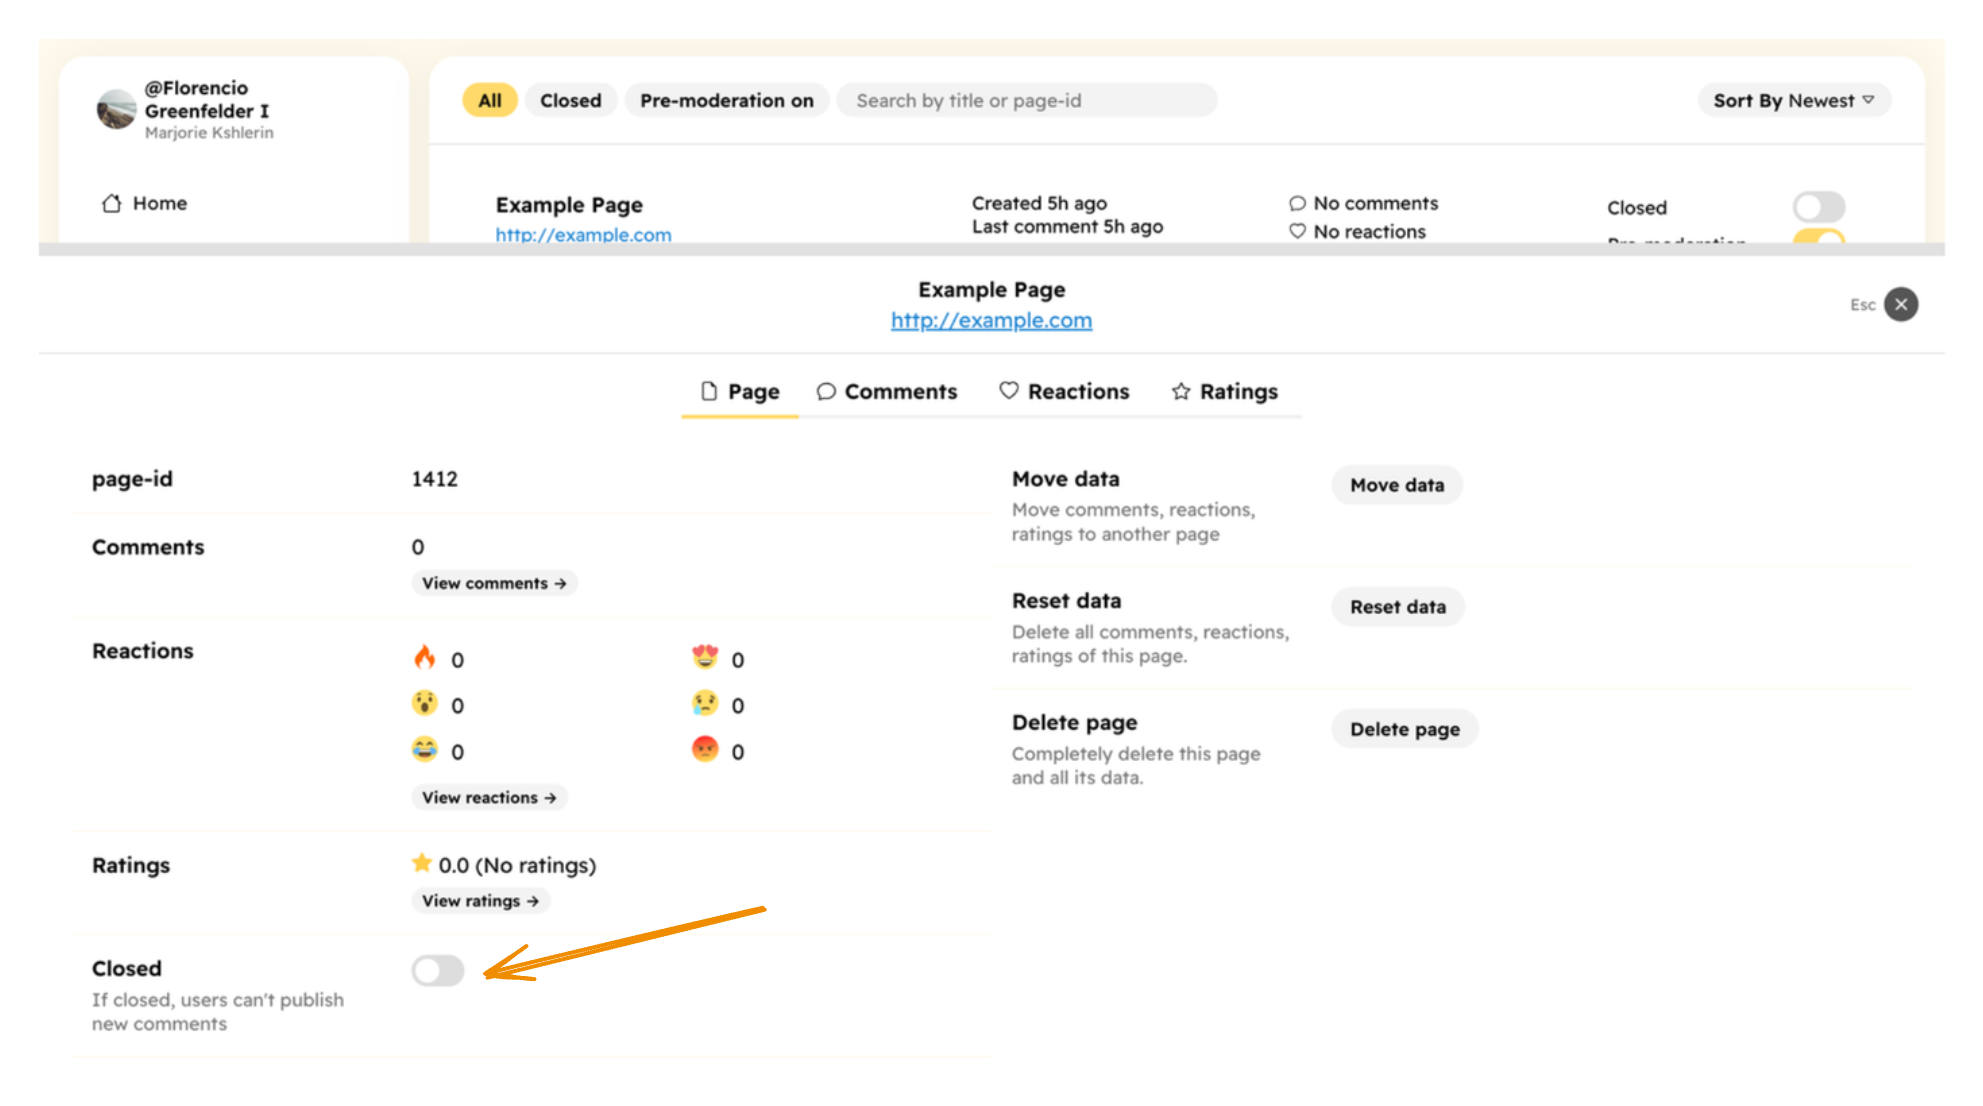
You can close a page from Console → Pages → [Your Page] → Closed. When a page is closed, no one can publish new comments on that page. Users will see a message like "This page is closed for new comments." in the comments section. However, they can view existing comments.
Moving Data
If your page-ids change due to some reason, there is an easy way to move all the data from the old page to the new page. Go to Console → Pages → [Your Old Page] → Move Data.
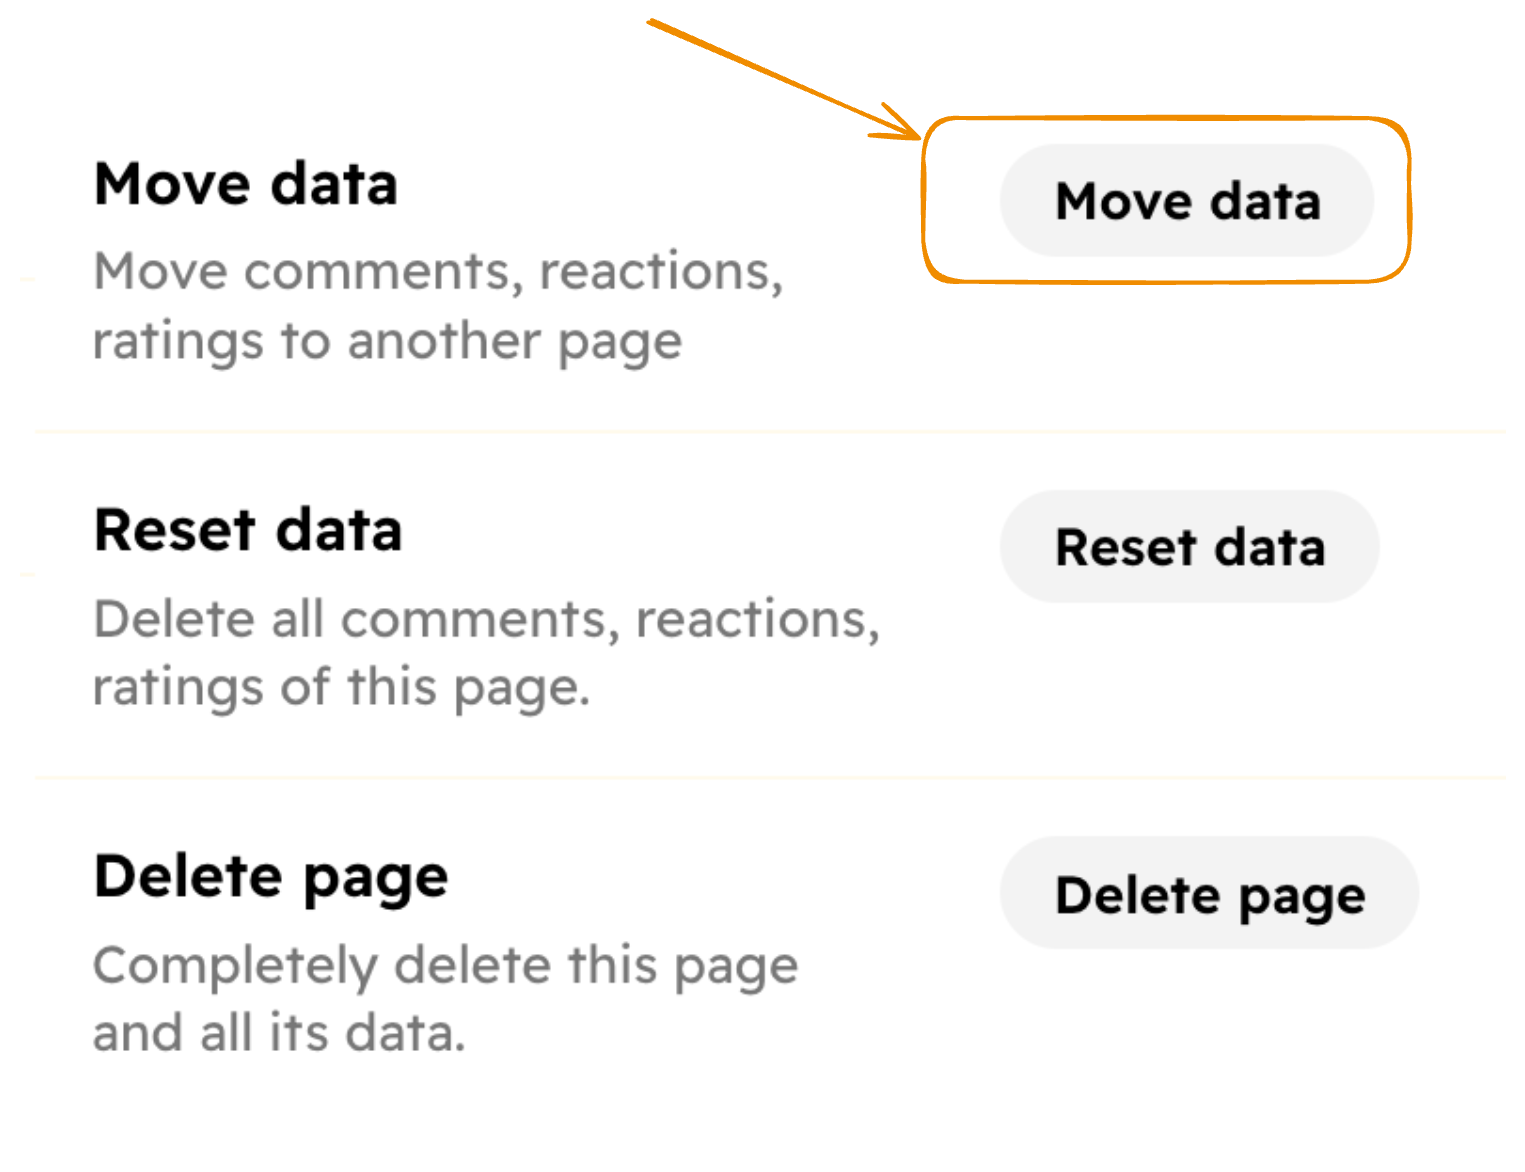
Then, in the modal, select the new page and click Move. This will move all the comments, reactions, ratings, votes from the old page to the new page.
Moderators
Hyvor Talk allows you to add moderators to your website. There are three roles for moderators:
- Owner - The owner of the website. The owner can do anything on the website.
- Admin - Admins can do everything except deleting the website.
- Mod - Mod can only moderate comments, pages, and users.
Inviting Moderators
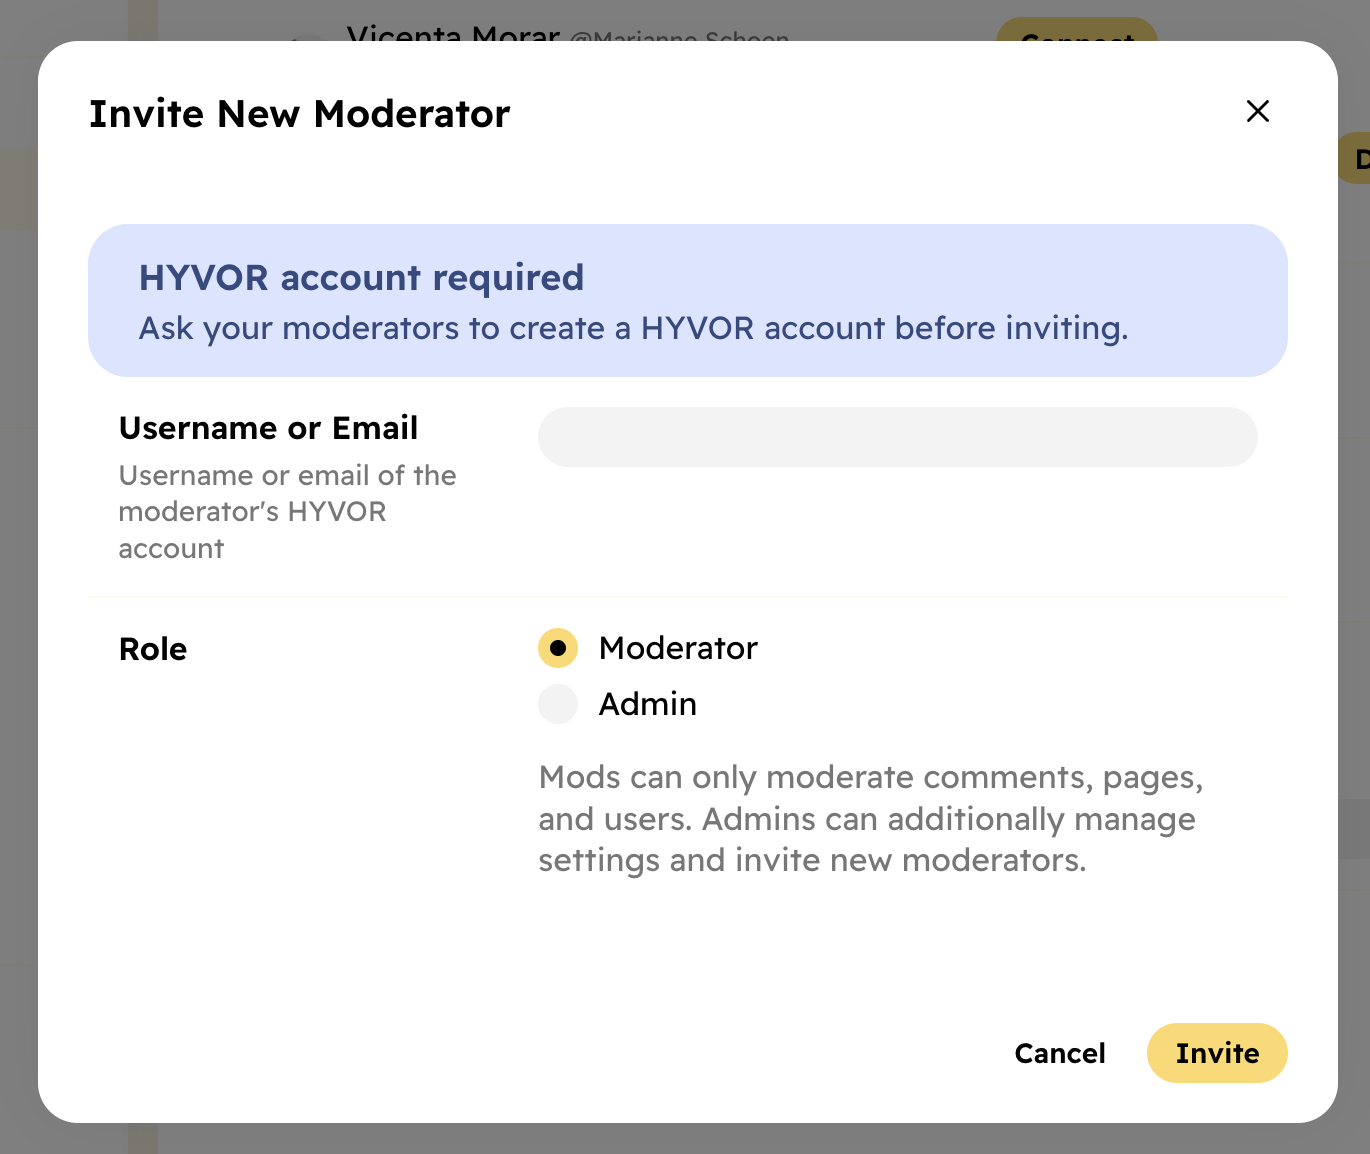
You can invite any HYVOR user as a moderator on your website. Enter their HYVOR username or email at Console → Settings → Moderators → Add Moderator. If they do not have a HYVOR account, ask them to create one at hyvor.com/signup.
Moderator Badge
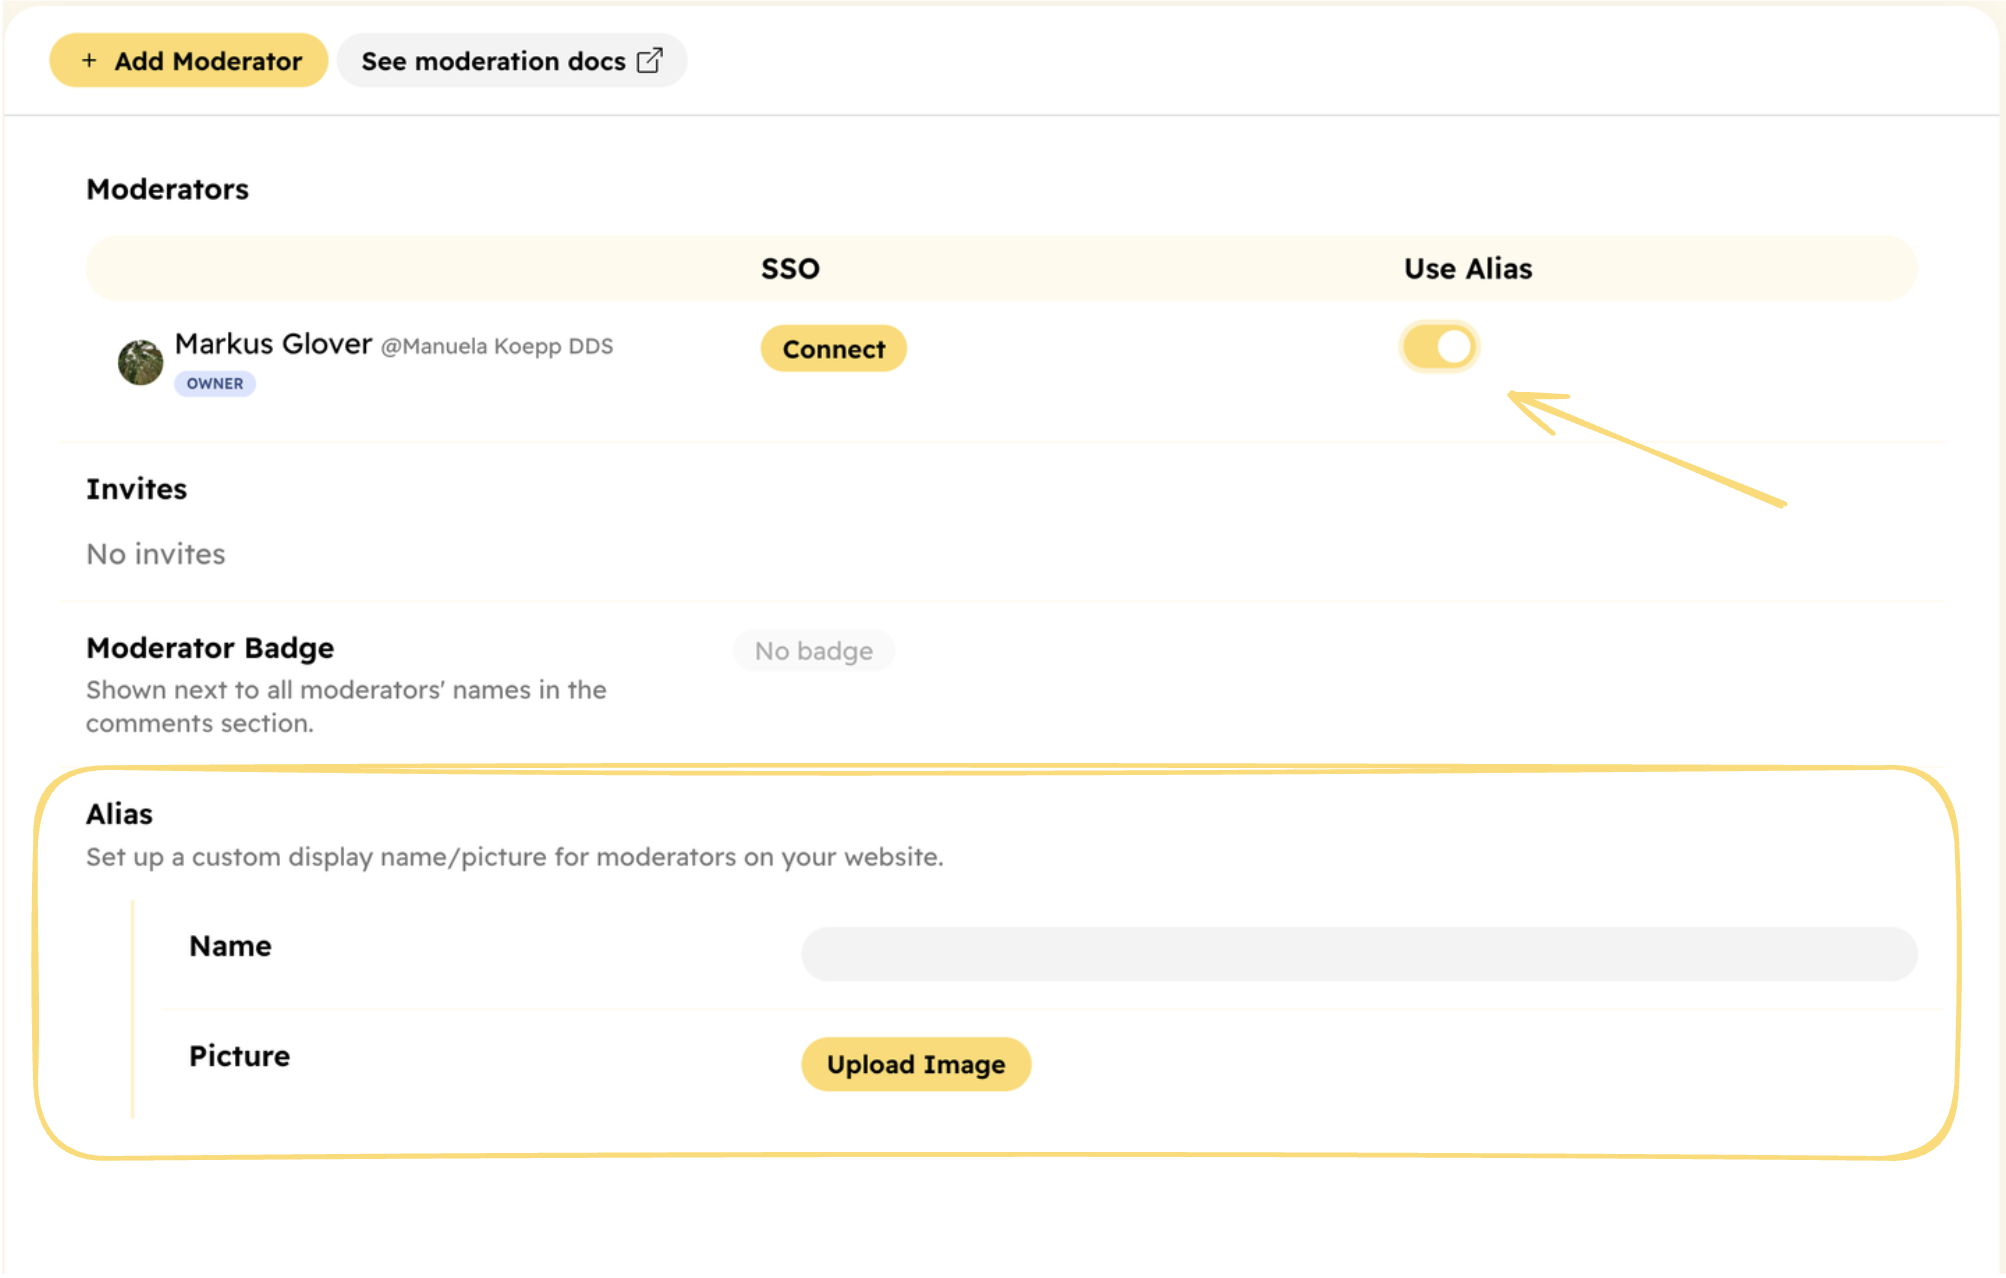
You can set a "Moderator Badge", which will be shown next to the moderator's name in the comment section.

Moderator Alias
You can set an "Alias" for moderators. This will be shown instead of the moderator's name in the comment section when enabled. This is useful for company representation. Make sure to set up an alias name and picture and enable it for the moderator.
Transfer Ownership
You can transfer the ownership of your website to another moderator.

Connecting SSO accounts
If you are using Single Sign-on, you can connect SSO accounts to moderator accounts. This will allow them:
- To moderate comments in the embed when they are logged in using SSO
- To reply from the Console using their SSO account
