Stateless SSO
The idea of Stateless SSO is simple: Each time the embed loads, you will send the current user's data in the following attributes:
sso-user: User's data in base64 encoded JSON formatsso-hash: HMAC hash ofsso-user, created using your SSO Private key. Used to validate the authenticity of the user data.
The following embeds support those attributes:
- Comments -
<hyvor-talk-comments> - Memberships -
<hyvor-talk-memberships> - Comment Count -
<hyvor-talk-comment-count>
Requirements
- Installation completed
- Trial or Business plan enabled on your account
- A back-end that can generate the user data and HMAC hash
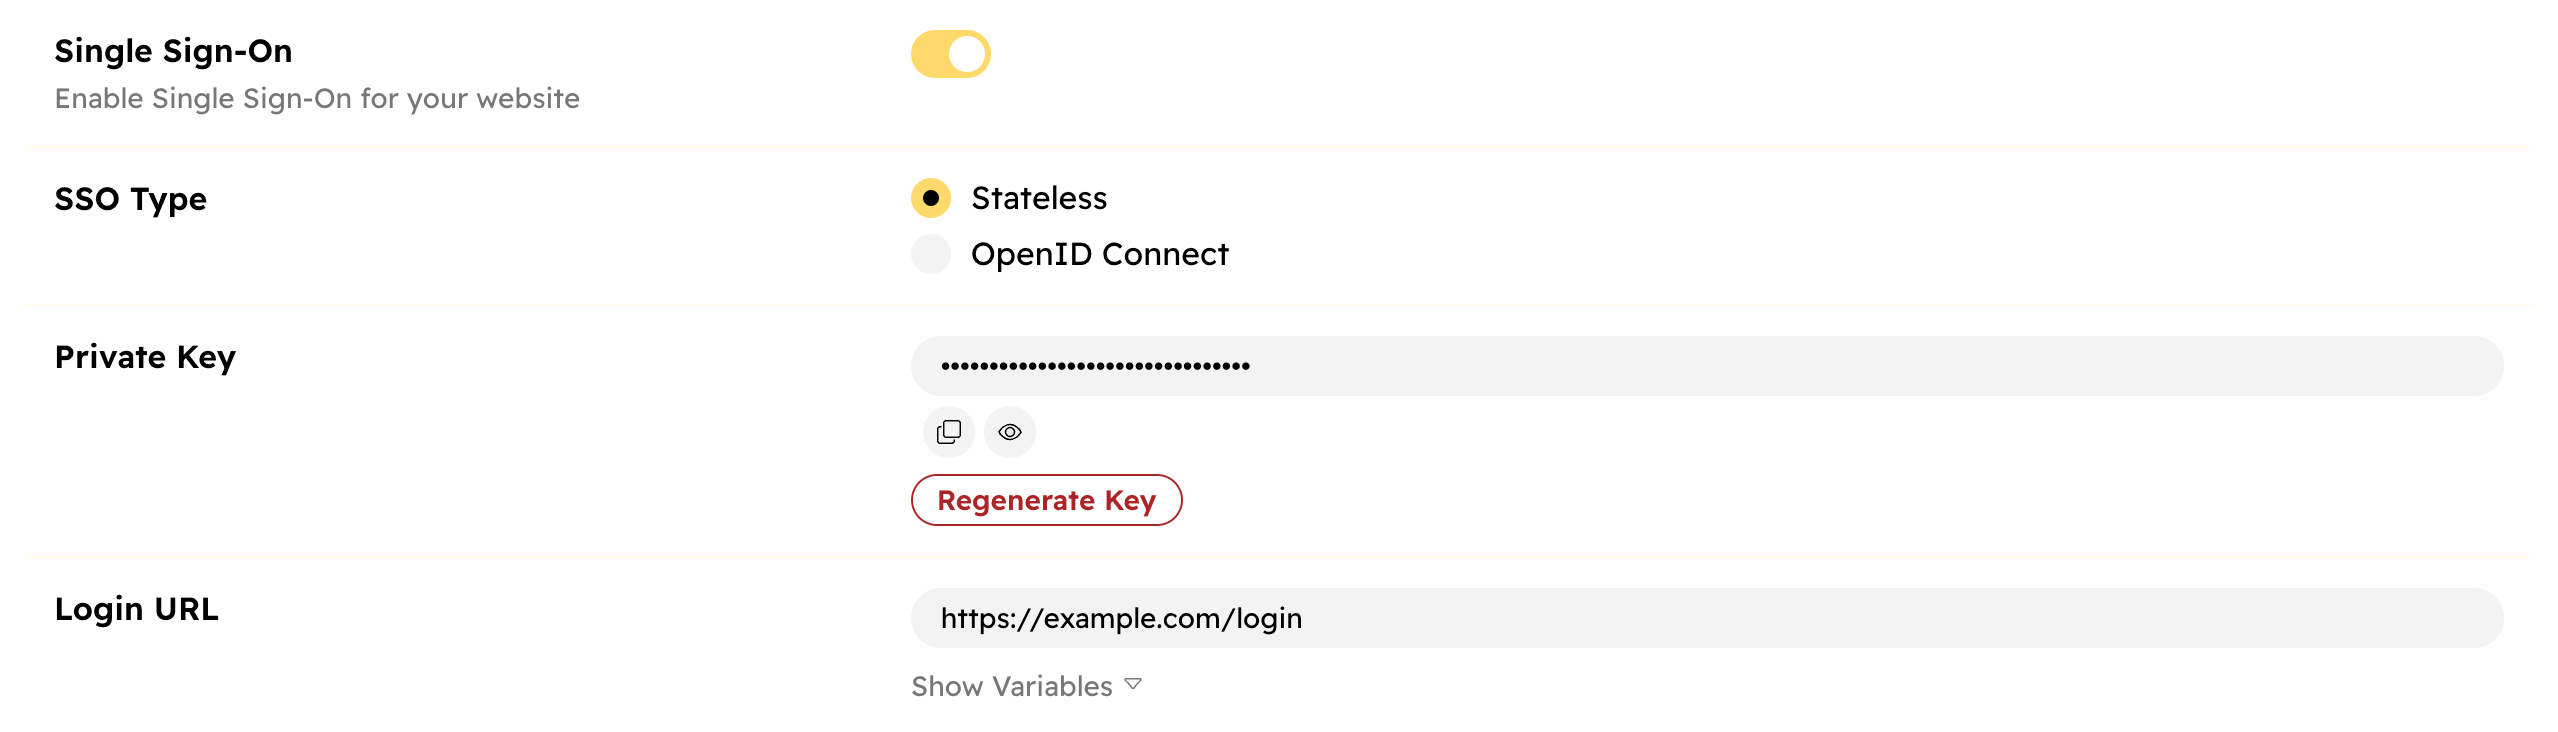
Enable Stateless SSO
- Go to Console → Settings → Single Sign-On
- Enable SSO
- Generate a private key
- Add your login URL
- Save
If you have a login popup instead of a URL, keep the login URL empty, and use the auth:login:clicked event to open the popup.
Frontend Configuration
To set up Stateless SSO, you have to set the sso-user and sso-hash attributes
in the embed. Here is an example with a comment embed:
<hyvor-talk-comments
	...other-props

	sso-user="base-64 encoded, JSON-encoded user data"
	sso-hash="HMAC hash"
></hyvor-talk-comments>
Or, using Javascript:
const comments = document.createElement("hyvor-talk-comments");
comments.setAttribute('sso-user', "base-64 encoded, JSON-encoded user data");
comments.setAttribute('sso-hash', "HMAC hash");
Sync vs Async initialization
If your website is rendered using templates with back-end processing (for example, using PHP templates), you can calculate the data and hash at the time of template rendering, and then print them directly in the HTML code
<hyvor-talk-comments
	...other-props

	sso-user="<?= $userData ?>"
	sso-hash="<?= $hash ?>"
></hyvor-talk-comments>
If you have a Single-Page application, you will need to create a new API endpoint (ex: /hyvor-talk-sso) to generate the data and hash in your backend. Then, call that endpoint to get the hash and then render the embed asynchronously.
const comments = document.createElement("hyvor-talk-comments");
const ssoData = await fetch('/hyvor-talk-sso')
	.then(res => res.json());

comments.ssoUser = ssoData.user;
comments.ssoHash = ssoData.hash;

// finally add the element to DOM
document.body.appendChild(comments);
Generating user data and HMAC hash
The following examples are written in Javascript/Node.
You can find examples for other languages in the hyvor-talk-examples repository.
Step 1: Check if the user is logged in
if (isUserLoggedIn()) {

}If the user is not logged in, you can stop doing any other processing. In the components, set sso-user and sso-hash to empty values:
sso-user=""in HTMLcomments.setAttribute('sso-user', null)in Javascript (or any other empty value)- Or, simply don't set the SSO attributes at all
Step 2: Create the user data object
Usually, you have a representation of the user in your system as an object or a model. Now, convert it to an object (or dictionary) that Hyvor Talk can 'understand'.
// this is your system's user
const user = getUser();

// create an object that Hyvor Talk understands
let userData = {
    timestamp: Math.floor(Date.now() / 1000),

    id: user.id,
    name: user.fullname,
    email: user.email,
	title: user.title,
    picture_url: user.picture,
    website_url: user.website,
    bio: user.bio,
    location: user.location,

    badge_ids: [1,2]
}
User Data Object Properties
Key
Description
Type
Max length
timestamp*UNIX timestamp in seconds when the object was created.
integerid*A unique ID saved in your database for each user. This is used to identify each user by Hyvor
Talk.
integer or string128
name*Display name
string50
email*Email, must be unique for each user
string256
titleTitle of the user
string256
picture_urlProfile picture full URL
string1024
website_urlFull URL to user's website or profile page
string1024
bioA short bio
string255
locationUser's country or city
string50
badge_idsAn array of badge IDs that the user has.
integer[]3 items
* Required
Data Length
id, email, picture_url, and website_url should not exceed the maximum length. This will show an error message and prevent the embed from loading.
If name, title, bio, or location exceeds the maximum length, they will be trimmed.Data Privacy
The
name, picture_url, website_url, bio, and location will be shown publicly. The email will only be used to send email notifications on
replies and mentions. If you do not want us to send email notifications, set the email to a dummy (but unique) value like [id]@yourcompany.org. Then, disable email notifications
in the Console.Step 3: Convert the object to JSON and then to base64
First, convert the user object to a JSON string. Then, encode it to base64.
// 1. JSON encoding
userData = JSON.stringify(userData);

// 2. Base64 encoding
userData = Buffer.from(userData).toString('base64');
Why JSON and base64 encoding?
JSON encoding makes transmitting data easy, and most languages have in-built libraries to
encode/decode JSON. Base64 encoding makes it possible to print out this data into HTML code.
Overall, JSON and base64 encoding is for convenience, not for security.
(base64 encoding is optional, but it is recommended)
(base64 encoding is optional, but it is recommended)
Step 4: Create the HMAC hash
The next step is to generate an HMAC hash from userData. For this, we need the private key you received when setting up Stateless SSO in the Console. We use HMAC SHA 256.
Here we will use the crypto-js Javascript library. However, most programming
languages have HMAC hashing functions built-in. Make sure to replace YOUR_PRIVATE_KEY with your own private key from Console → Settings → Single Sign-on.
const CryptoJS = require('crypto-js');
const hash = CryptoJS.HmacSHA256(userData, YOUR_PRIVATE_KEY);
Why the hash?
In order to securely connect SSO, we need to make sure that SSO user data we received was
generated by you, not someone else. The hash ensures this. Because the private
key is only shared between you and us, no one else can generate a valid HMAC hash. So, when we
render the embeds, we check if the user data and the hash match. And, only then, do we log in
the user.
Why
timestamp in the user object?This value allows us to expire old objects. Our system will not accept a timestamp older than 7 days, giving enough time for a single browser session, and also limiting the risk of replay
attacks. We recommend generating a new hash with a new timestamp on every page load. Or, if you
have a single-page application, on every initial load.
Here's the complete code in JS (Node):
if (isUserLoggedIn()) {

	// this is your system's user
	const user = getUser();

	// create an object that Hyvor Talk understands
	let userData = {
		id: user.id,
		name: user.fullname,
		email: user.email,
		picture_url: user.picture,
		website_url: user.website
	}

	// 1. JSON encoding
	userData = JSON.stringify(userData);

	// 2. Base64 encoding
	userData = Buffer.from(userData).toString('base64');

	// HMAC SHA256 hash
	const CryptoJS = require('crypto-js');
	const hash = CryptoJS.HmacSHA256(userData, YOUR_PRIVATE_KEY);

	return {
		user: userData, // sso-user attribute
		hash: hash.toString() // sso-hash attribute
	}

}
Step 5: Set the attributes
The last step is to set the attributes in the component:
sso-userto theuserDatavariablesso-hashto thehashvariable
See Sync vs Async initialization for how to set these attributes in different scenarios.
Security Considerations
- Keep the private key securely in
.envor a key storage. Do not commit it to source control. - In case of a compromise, you should regenerate the private key.
- If you are using an API endpoint to generate the hash, always use the
POSTHTTP method, without any caching. - If you are printing data to HTML directly, you should never cache HTML responses.
Keyless Stateless SSO
You can also set up Stateless SSO without the hash, but read the following carefully:
Security Warning!
Keyless Stateless SSO does not validate the authenticity of the user data. This means that if a user ID was compromised, an attacker can impersonate any user. This option should only be used if:
- You do not have access to your website's back-end (for example, a Webflow site). If you do, you should use the hash.
- User IDs are secure and random (ex: UUID) and you keep them private. If you have auto-incrementing IDs or any other predictable IDs, you should use the hash.
If you have an authentication provider that supports the OpenID Connect protocol, use OpenID Connect SSO instead.
To get started, enable the Keyless option in SSO settings in the Console. Then,
you can set the sso-user attribute to a JSON string. Here is an example:
const comments = document.querySelector('hyvor-talk-comments');

comments.setAttribute('sso-user', JSON.stringify({

    timestamp: Math.floor(Date.now() / 1000),

    id: 'user-id',
    name: 'user-name',
    email: 'user-email',
    picture_url: 'user-picture-url',
    website_url: 'user-website-url',

}))
See the User Data Object Properties for the properties you can set.